
Table of Contents
- Why height makes such a difference
- The most important mast types at a glance
- Fibreglass and telescopic masts (light & portable)
- Push-up / sectional mast (the affordable permanent solution)
- Crank-up mast: high when you need it
- Tilt-over mast: convenient maintenance
- Lattice mast / tower (the top league)
- Structural engineering, foundation and wind load
- Guying done right
- Safety: lightning protection, earthing and installation
- Legal matters: building regulations, tenancy law and neighbours
- From mast to finished installation
- Conclusion
- Transparency Notice
In amateur radio there is a simple, almost uncomfortable truth: height beats power. If you put your antenna a few metres higher and more in the clear, you often get more out of the band than with a big amplifier on the ground. That is exactly why sooner or later almost everyone ends up asking about the right antenna support: is a simple push-up mast enough, or should it be a climbable lattice tower right away? In this article we look at the common mast types, cover structural engineering, foundations, guying and lightning protection, and show what really matters when putting up a mast safely.
Why height makes such a difference
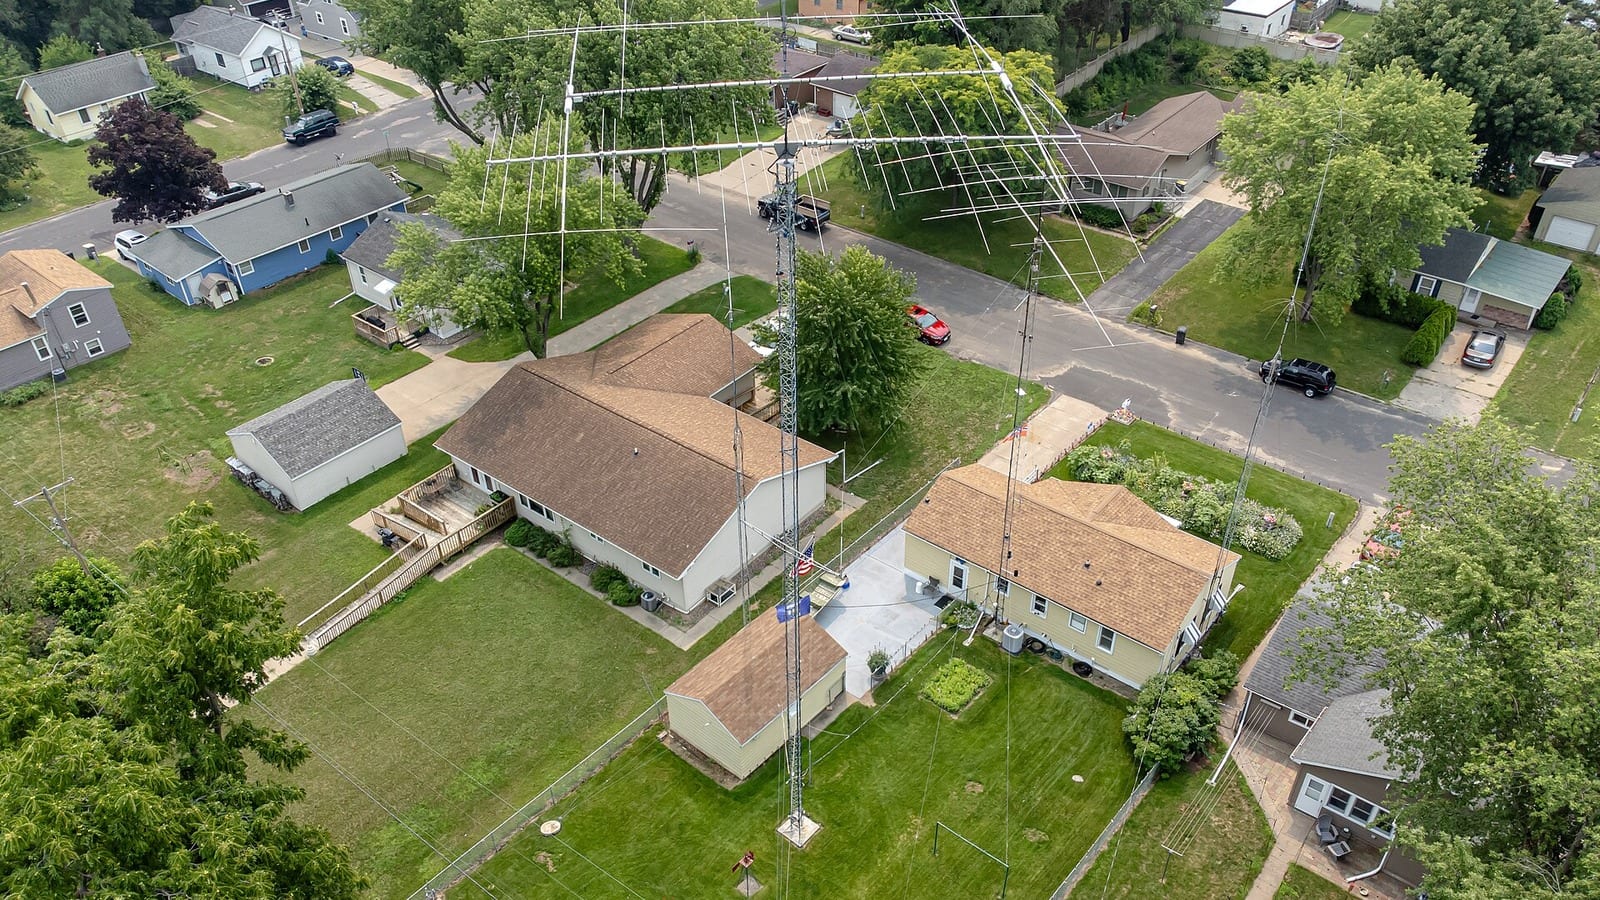
What counts for range is not the height above ground level but the effective height above the surrounding terrain (HAAT, height above average terrain). On the upper shortwave bands, and even more so on VHF/UHF, a clear view of the horizon determines the take-off angle: the higher and more in the clear the antenna stands, the lower its radiation angle can be and the further the signal travels. A directional antenna at 12 metres works noticeably differently on 20 m than the same antenna at 6 metres. The mast is therefore not an accessory but a central part of the antenna system.
That, however, is also where the responsibility begins: an antenna support is a structure that has to carry wind, ice and its own weight – and must not endanger anyone if the worst happens. The good news: with a bit of planning, all of this is manageable.
The most important mast types at a glance
Fibreglass and telescopic masts (light & portable)
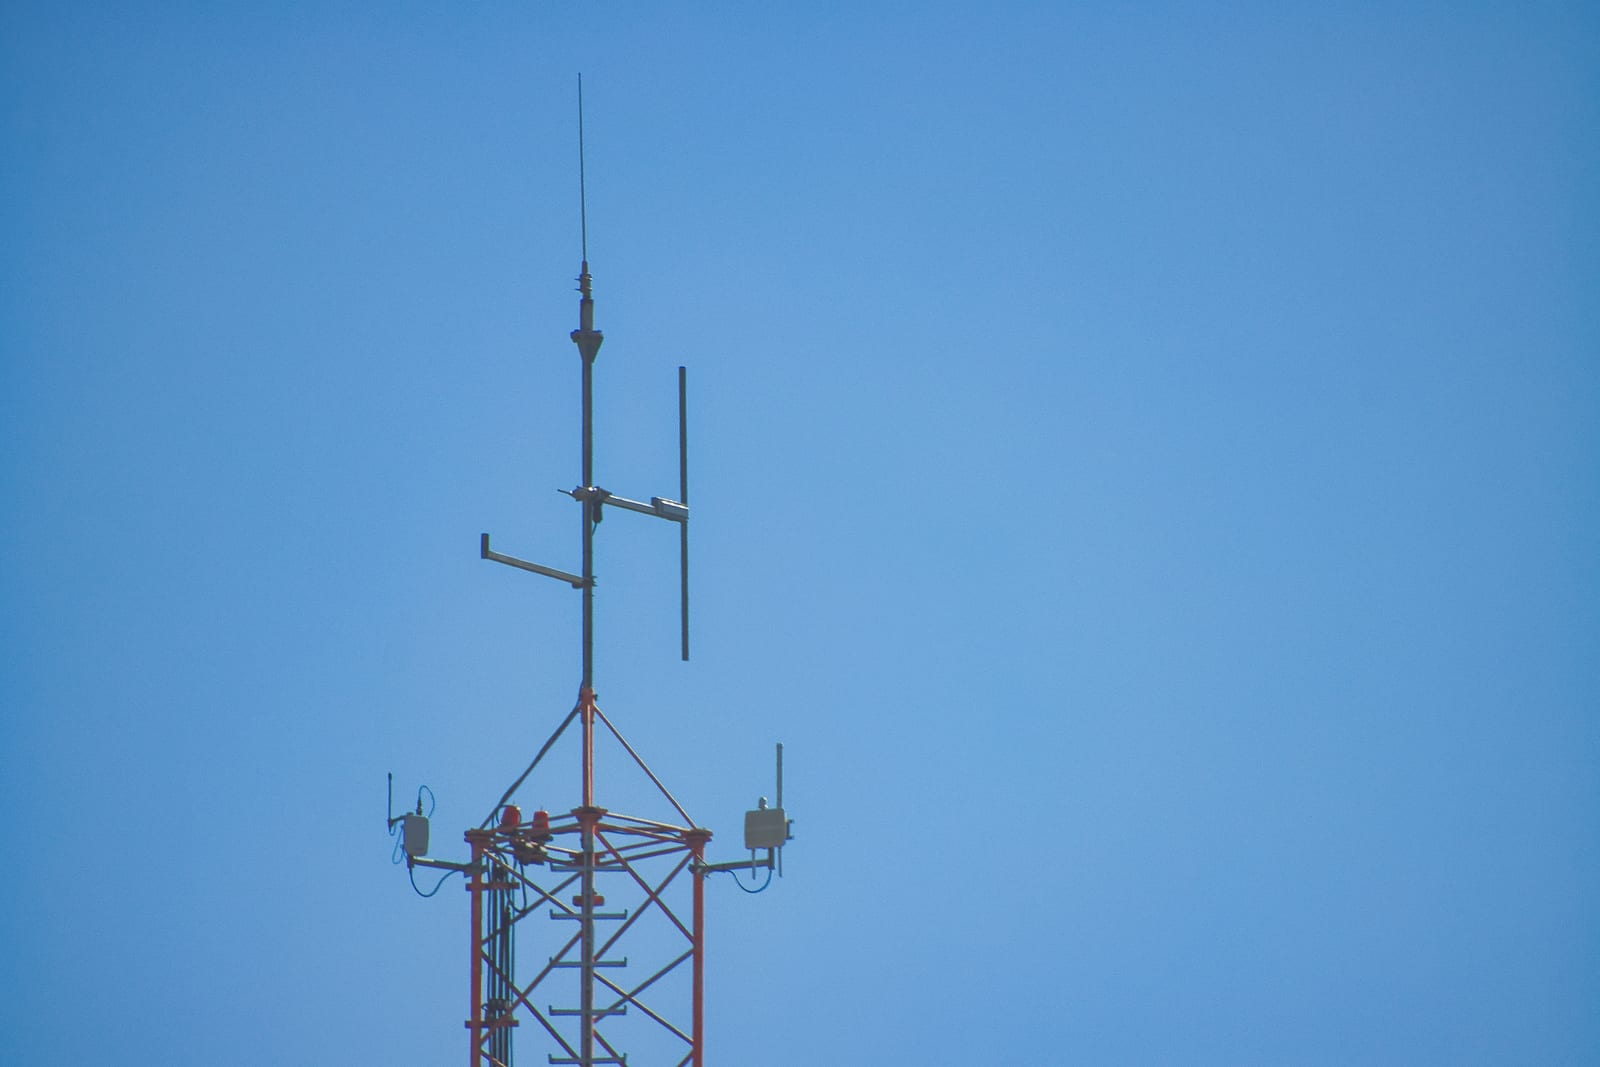
For wire antennas, verticals and portable operation, fibreglass masts (GRP) are the classic choice. They are light, non-conductive and set up in a few minutes. 6 to 12 metres are easily achievable, and even more with guying. Ideal for Field Day, SOTA/POTA and as an inconspicuous solution at home. They are not suitable for heavy directional antennas – they simply lack the stability.
Push-up / sectional mast (the affordable permanent solution)
Telescopic steel or aluminium push-up masts are attached to the house wall or to a foundation and extended. They are inexpensive and carry smaller beams or VHF/UHF antennas. Disadvantage: to work on the antenna you have to retract the mast or climb up yourself – which makes regular maintenance tedious.
Crank-up mast: high when you need it
The crank-up mast extends telescopically via a hand crank or cable winch – often from 7 to 15 metres and more. In storms or in everyday life it stays retracted, keeping it inconspicuous and safe in the wind; for operating it is cranked up. Convenient, but more expensive, and the steel cables need regular inspection. Important: never work on or climb an extended mast while the weight is held only by the cable – crank-up masts are not built to be climbed in the extended state.
Practical example: assembly and installation of a tilting crank-up mast for a beam antenna (video: KK4MND, YouTube).
Tilt-over mast: convenient maintenance
The tilt-over mast is hinged at the base (or in the middle) and can be lowered to the ground. This is the most maintenance-friendly design: antenna, rotator and cables can be reached comfortably while standing, without having to climb. When raising it, a “falling derrick” often helps – an auxiliary boom that absorbs the tilting moment while the mast is pulled up. If you are handy, you can even build something like this yourself from scaffolding tubes.
Homebrew build of a tilt-over ~14 m mast from scaffolding tubes with a falling derrick (video: DXCommander, YouTube).
Lattice mast / tower (the top league)
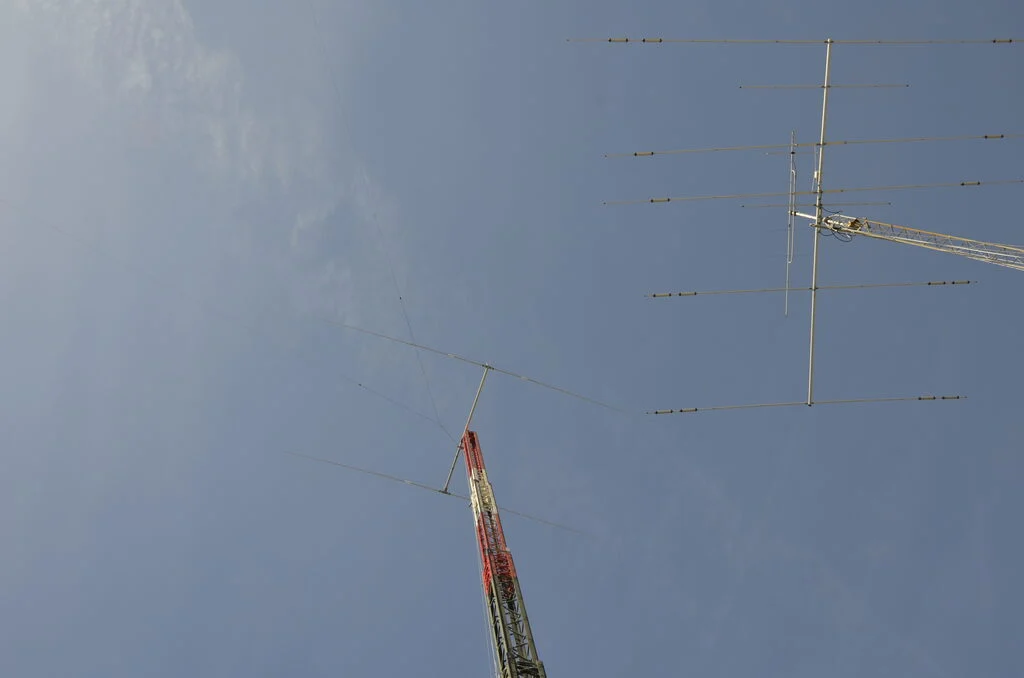
The free-standing or guyed lattice tower made of galvanised steel is the most stable solution and carries even heavy antenna stacks. In return it needs a proper concrete foundation, usually a building permit (in Austria a Baubewilligung) and carefully planned lightning protection. If you are planning permanent contest or DX operation with large directional antennas, there is hardly any way around a tower – but that is a real construction project, not a weekend purchase.
Structural engineering, foundation and wind load
By far the most important load case is the wind – not the weight of the antenna. What matters is the wind load area of the antenna (specified by the manufacturer as “wind load” in m²) and the lever arm with which it acts at the top of the mast. A large Yagi at 12 metres generates enormous forces at the mast base in a storm. Therefore:
- Take the manufacturer's specifications seriously: every mast has a permissible wind load depending on height. Better to size generously than tightly.
- Foundation as specified: for free-standing masts a concrete foundation is mandatory; the manufacturer specifies its size and reinforcement. Rules of thumb from the internet are no substitute.
- Consider ice load: in winter, ice build-up can multiply the wind load area – a very real factor in the mountains in particular.
- When in doubt, have it calculated: for large towers a structural engineer is worth it (in Austria the Statiker, who prepares the Statik – the structural analysis). It costs money, but it is cheaper than a toppled mast.
Guying done right
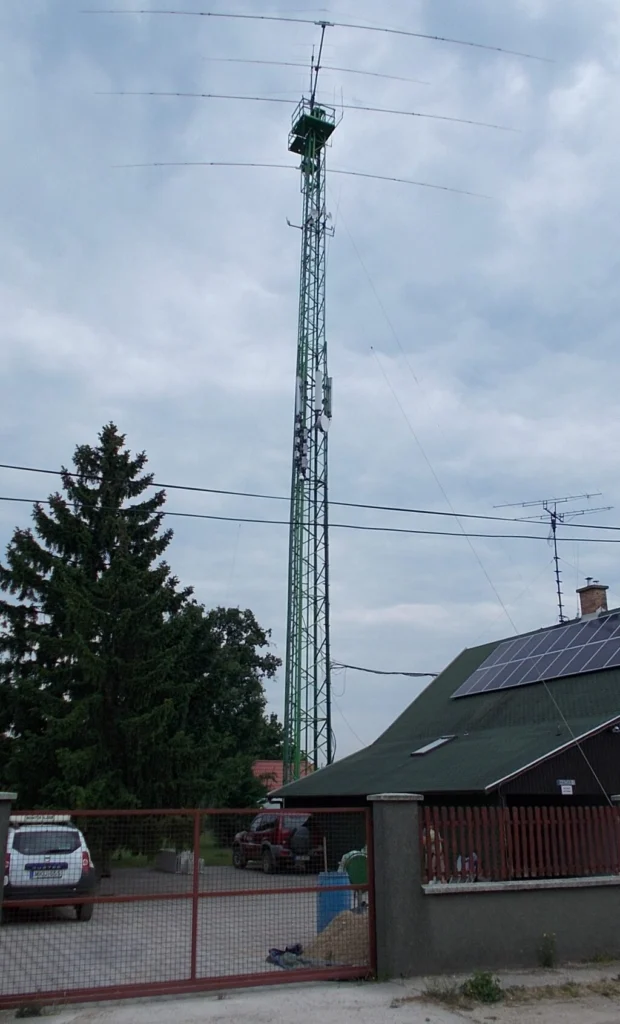
Slender, tall masts are guyed. The rule: at least three guy wires per level, evenly spaced at 120°, and for greater heights several levels one above the other. The distance of the ground anchors from the mast base should be roughly 60–80 % of the mast height – angles that are too shallow generate huge cable forces. Use sturdy, corrosion-resistant anchors and turnbuckles, and check the pre-tension regularly. With non-conductive masts, or to avoid resonances, the steel wires are broken up with egg insulators.
Safety: lightning protection, earthing and installation
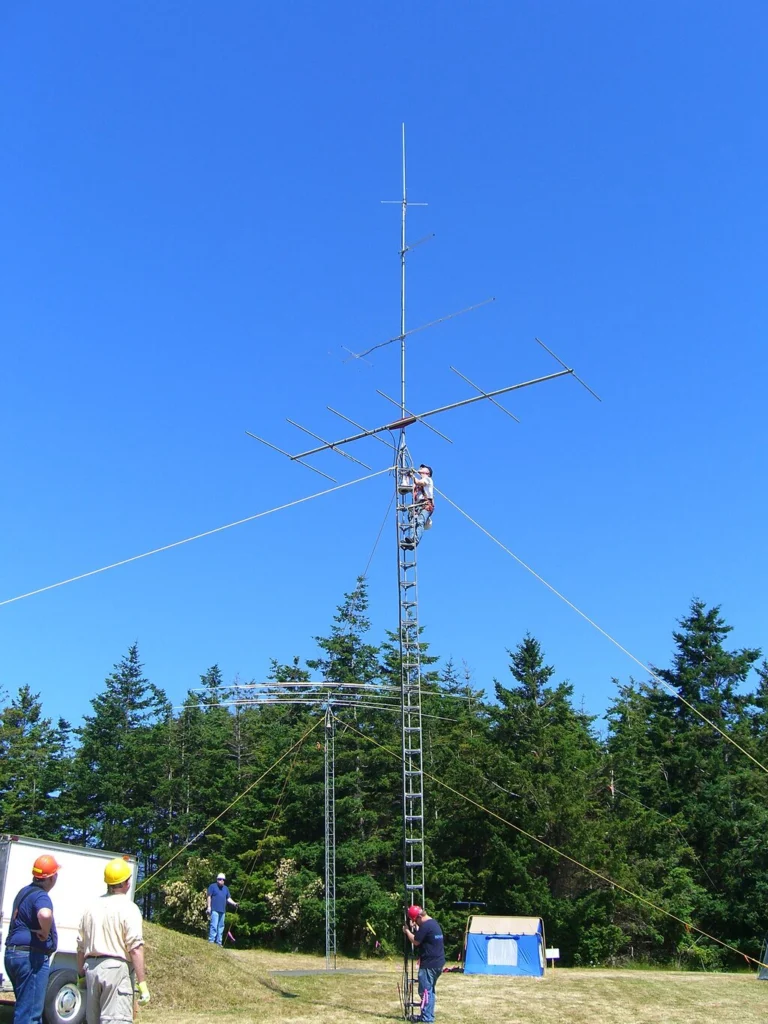
A mast is the highest point on the property and thus a preferred target for lightning strikes. Earthing and lightning protection are not an extra, they are a must. The mast base must be connected to an earth electrode via an adequately sized conductor, the coaxial cables are routed through surge arresters and cleanly isolated at the station entry point. We have described in detail how to protect the station effectively in Station Earthing and Lightning Protection: Protecting the Shack from Surges.
For the installation itself, common sense applies: never work alone, always be secured at height (climbing harness, fall-arrest harness), and check the distance to overhead power lines before raising the mast. A mast that tips into a power line while being raised is life-threatening. Plan the tilt radius generously and keep helpers out of the fall zone.
Legal matters: building regulations, tenancy law and neighbours
Whether an antenna support requires a permit in Austria depends on the respective provincial building code (Landesbauordnung – each Austrian federal province has its own building regulations) and is determined above all by the height. Small masts are often exempt from notification or permit requirements, while larger towers need a building permit (Baubewilligung). When in doubt, a short enquiry at the municipality's building authority helps – it saves trouble later on.
If you live in a rented flat or in a condominium owners' association, you additionally need the consent of the owner or the owners' association. We have covered the legal fine print here: Antennas and Tenancy Law in Austria: May I Put Up an Antenna? And if a large mast is simply out of the question, there are elegant alternatives – see Stealth Antennas for Flats and HOAs: Operating Invisibly.
From mast to finished installation
Once the mast is up, what remains is the path from the antenna feed point to the shack. The right coaxial cable determines how much of the hard-won height actually arrives on the band – the longer the run and the higher the frequency, the more important a low-loss cable: Choosing the Right Coaxial Cable: RG-58, RG-213, LMR-400 and More. And for clean matching and a common-mode choke at the feed point, it is worth taking a look at Understanding Baluns and Ununs: Impedance Matching Done Right.
Conclusion
The best antenna support is the one that suits your location, your budget and your antennas – and that you can operate and maintain safely. To start with, a fibreglass or push-up mast is often enough. If you want to work with directional antennas permanently, a tilt-over or crank-up mast is a comfortable choice, and the top league remains the lattice tower with a proper foundation. Plan structural engineering, guying and lightning protection from the very beginning, get professional help for large projects – and then: get the antenna up and the take-off angle down.
73 – your oeradio.at editorial team
Transparency Notice
This article was researched and written with the assistance of AI (Claude, Anthropic). The photos used are from Wikimedia Commons (see captions for licence and author). Editorial responsibility and review lie with the oeradio.at editorial team. Please send comments and corrections to [email protected].