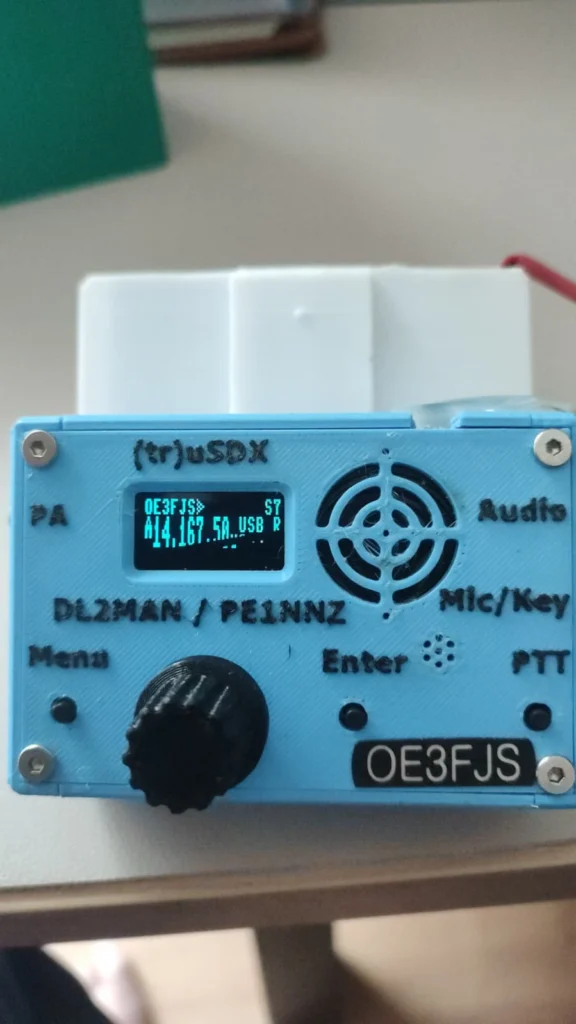
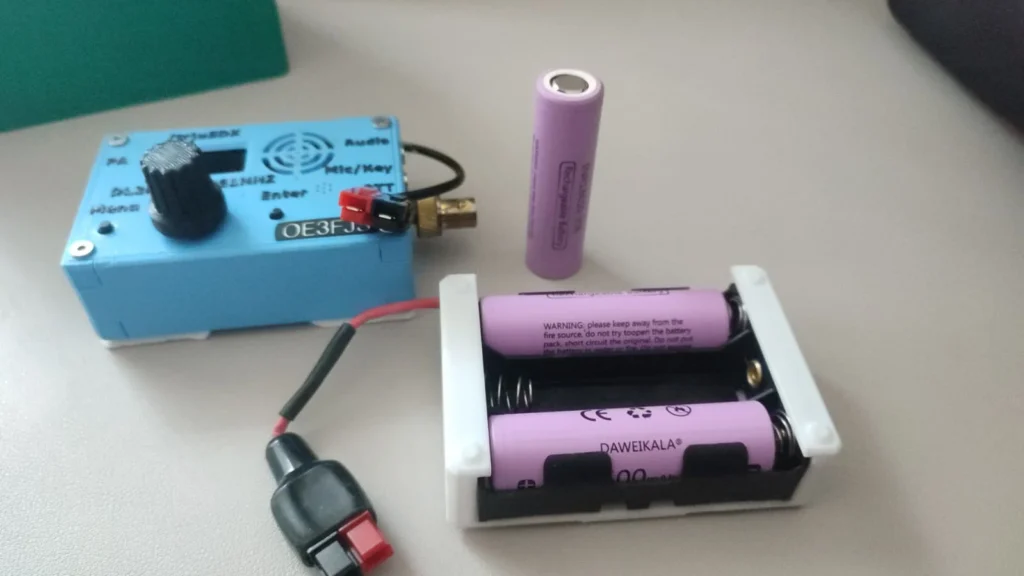
I spent a long time thinking about how to get power for portable operations. If you're out with a (tr)uSDX or USDX, it's easy: three unprotected 18650 cells in a holder — done. Manuel DL2MAN, the creator of the (tr)uSDX, even designed a matching 3D-printed enclosure for it.
But what about radios that need more power — like the Icom IC-705 or the Xiegu X6100?
The Solution: Eremit LiFePO4 Battery
Eremit is my go-to choice. Ordered from Franz in Graz (funkelektronik.at), an Eremit battery with 6 Ah — compact, lightweight, and enough capacity for a full day of portable operation.
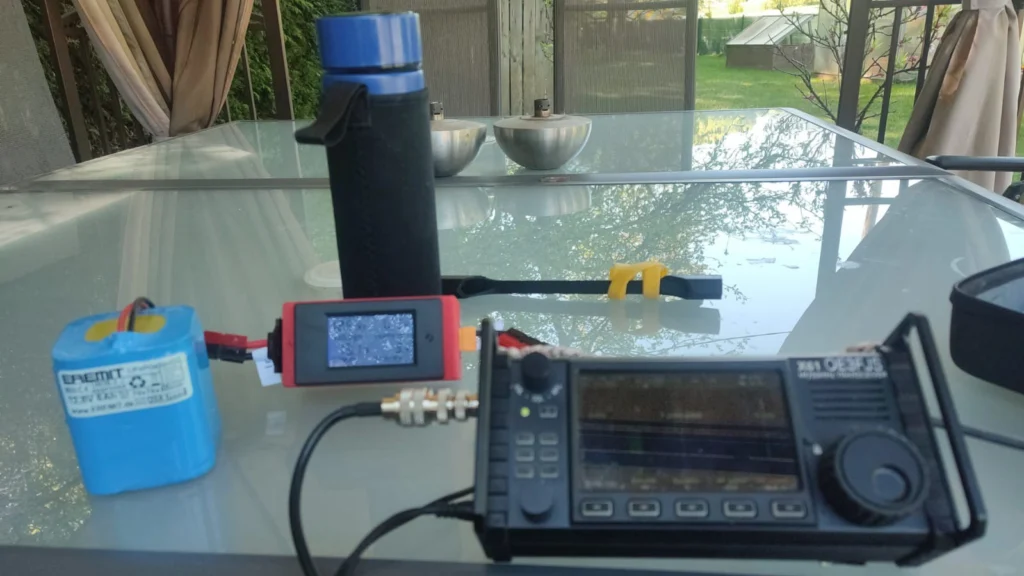
The Enclosure: 3D-Printed with USB Charger
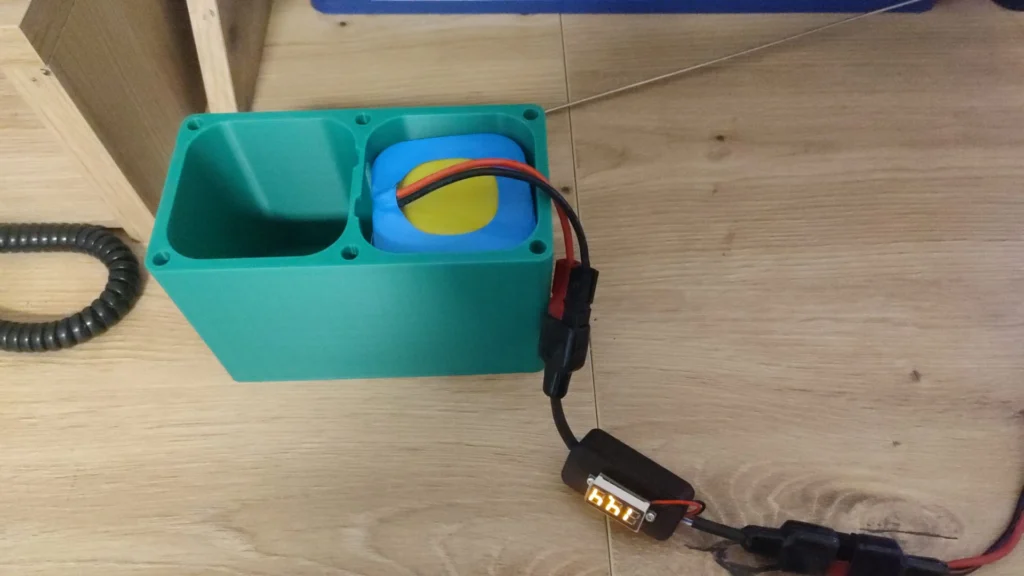
The original Eremit case wasn't quite right for me — I also wanted USB charging built in. And I found just the thing on Thingiverse.
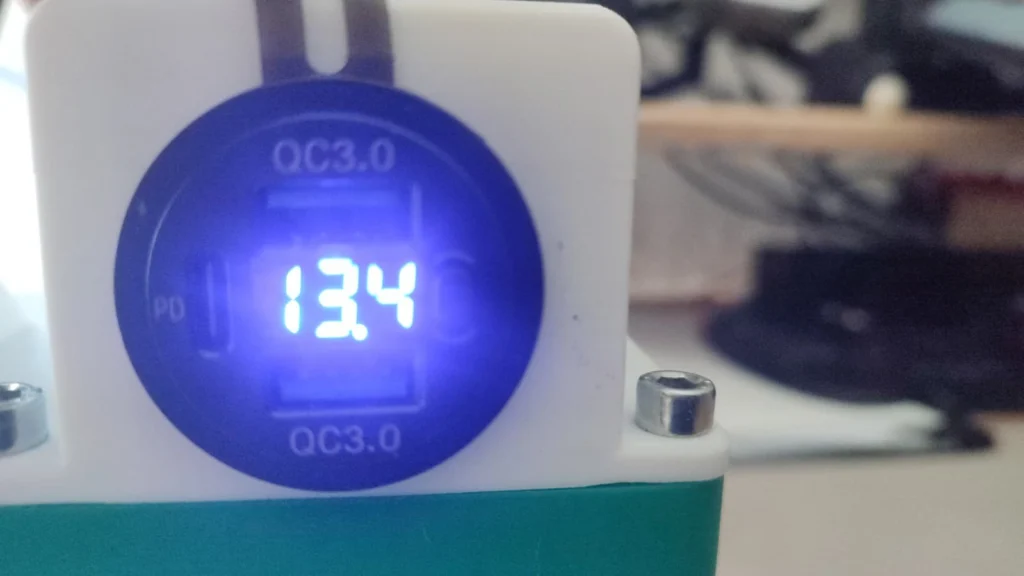
The advantage of this enclosure: you can install a USB socket with QC3.0 — and anyone can do it! The matching panel-mount USB socket is available on Amazon. This way I can charge my transceiver and phone with one unit, or power a Raspberry Pi with a 7" display.
What Do You Need to Build It?
- Eremit LiFePO4 battery (6 Ah, 12.8 V) — e.g. from funkelektronik.at or directly from eremit.de
- 3D-printed enclosure from Thingiverse
- USB panel-mount socket with QC3.0 and voltage display (Amazon)
- 2x WAGO connectors (Amazon)
- Anderson PowerPole connectors for the connection and internal wiring (which connector you need depends on the battery you ordered)
- Ruthex threaded inserts for heat-setting
- Matching screws
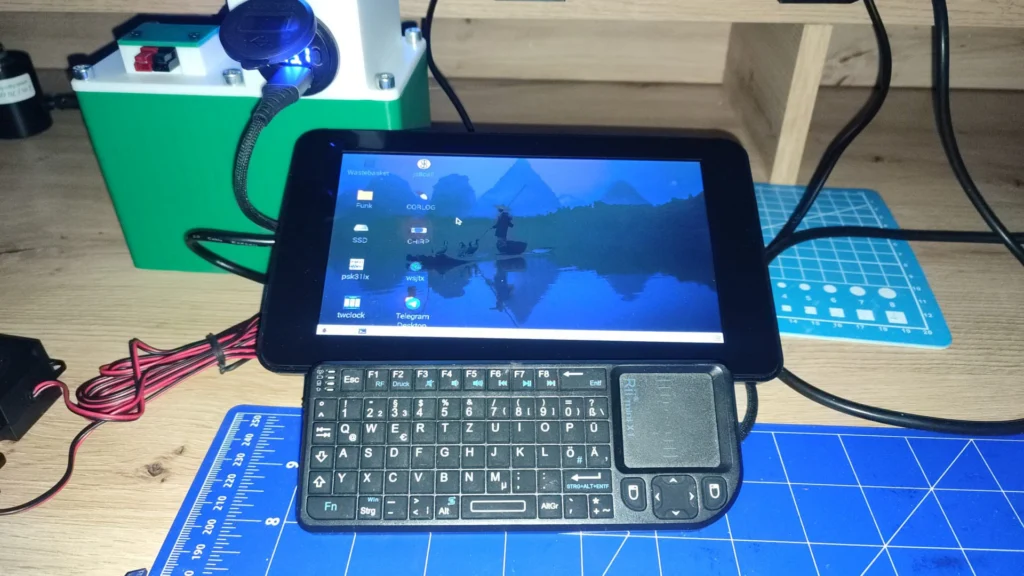
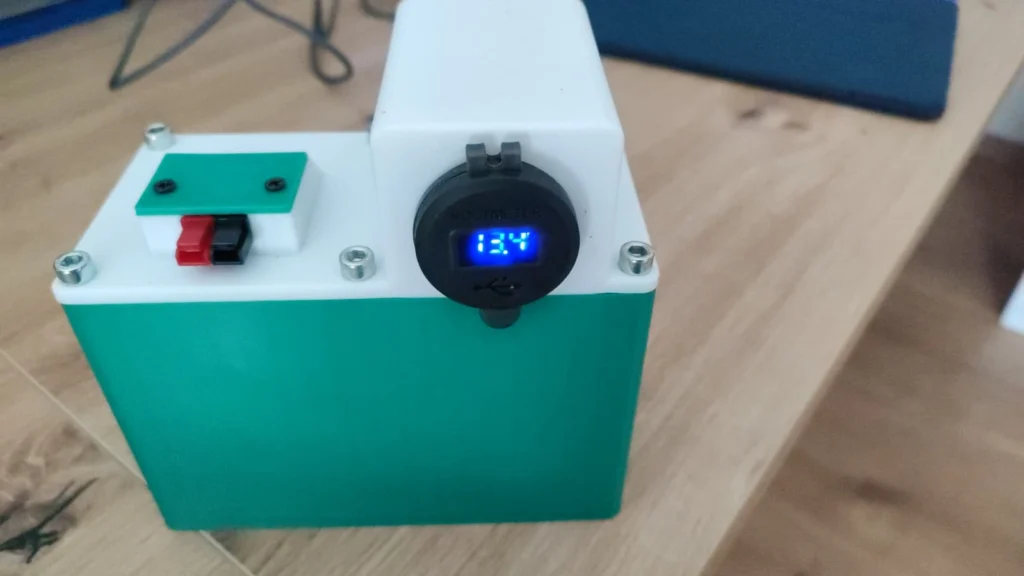
And that's how I found my perfect power setup. Compact, lightweight, with USB output — and all from the 3D printer. I can charge my transceiver and phone with one unit, or power a Raspberry Pi with a 7" display. Portable operation without compromise!
73 de OE3FJS
Transparency Notice
This guest post was written by Josef, OE3FJS, and editorially prepared by the oeradio.at team with the support of AI (Claude, Anthropic). All photos by OE3FJS. Feedback and suggestions welcome at [email protected].