
Table of Contents
- Why 3D Printing for Ham Radio?
- Top 3D Printing Projects for Hams
- 1. EFHW winders and matchbox enclosures
- 2. NanoVNA cases
- 3. ESP32 project enclosures
- 4. Mast brackets and antenna mounts
- 5. QO-100 feed mounts
- Material Selection: PLA, PETG or ASA?
- 3D Printing and RF: Any Issues?
- STL Sources: Where to Find Templates
- CAD Software for Beginners
- Recommended Printers for Beginners
- Practical Tips
- Conclusion: The 3D Printer as a Shack Tool
- Videos: 3D Printing for Ham Radio
- Transparency Notice
When you need a special enclosure for ham radio, an antenna mount in an unusual shape, or a part that simply isn’t available to buy — reach for the 3D printer. The combination of amateur radio and 3D printing is a perfect match: maker spirit meets the joy of experimentation, and the result is solutions that perfectly fit your own setup.
Why 3D Printing for Ham Radio?
Radio amateurs have always been builders. From the first crystal receiver to the QRP transmitter to the homebrew antenna — DIY is in the hobby’s DNA. The 3D printer adds a new dimension to the workbench: precise, repeatable, complex parts that would be difficult or impossible to make with conventional tools.
Typical applications in amateur radio:
- Enclosures for homebrew devices, ESP32 projects and test equipment
- Antenna components: insulators, spacers, mast brackets, balun enclosures
- Cable management and holders in the shack
- Portable accessories for SOTA and POTA activations
- Replacement parts for older equipment no longer available commercially
- Prototypes before final production in metal or other materials
Top 3D Printing Projects for Hams
1. EFHW winders and matchbox enclosures
The End-Fed Half-Wave antenna (EFHW) is the most popular portable antenna. The matching transformer needs a suitable housing, and the antenna wire needs a winding spool for transport. Both are perfect for 3D printing: matchbox enclosures with integrated BNC or SO-239 mounts, winding spools for 10–20 m of wire, and guy point holders with carabiner loops.
2. NanoVNA cases
The NanoVNA often ships without a protective case. A printed case with cutouts for the display, SMA connectors and USB port protects the delicate device and looks professional. Dozens of designs for various NanoVNA versions are available on Thingiverse and Printables.
3. ESP32 project enclosures
Whether APRS tracker, CW keyer, rotor controller or band plan display — ESP32-based ham radio projects need a suitable enclosure. Parametric designs (e.g. in OpenSCAD or FreeCAD) can be adjusted to the exact dimensions of the PCB and connectors.
4. Mast brackets and antenna mounts
From balcony mounts for a magnetic loop to gutter clamps to portable mast bases — 3D printing allows custom solutions for any installation situation. Tip: Use PETG or ASA instead of PLA for outdoor use (UV-resistant).
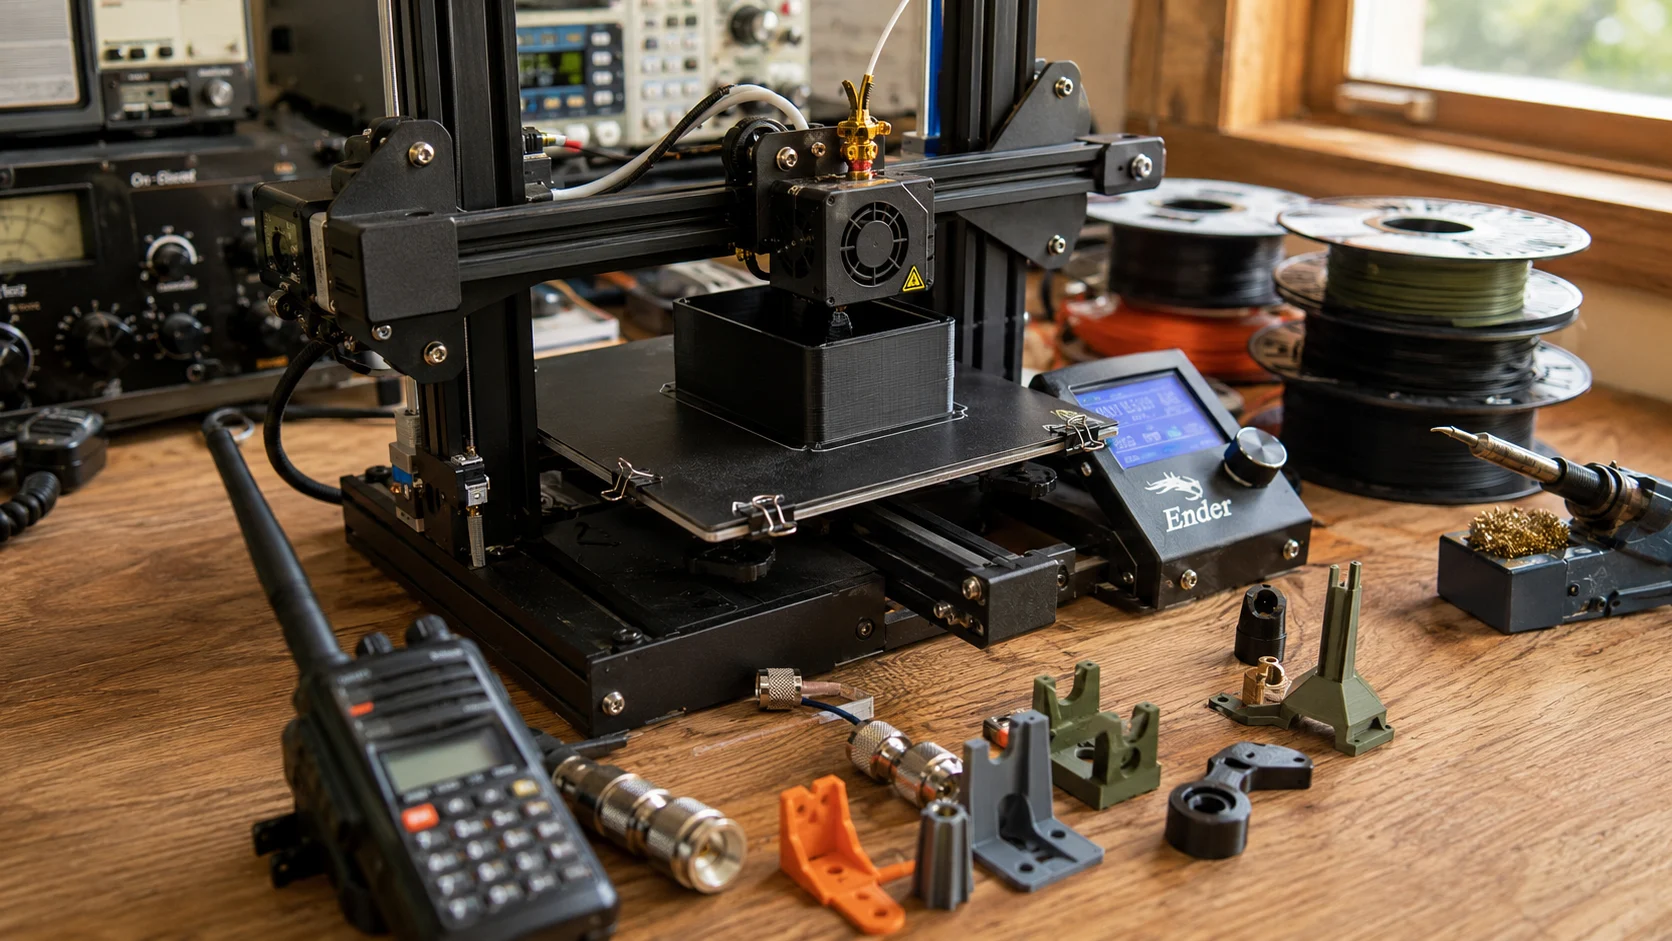
5. QO-100 feed mounts
For the geostationary amateur satellite QO-100, you need a patch antenna or helix feed at the focal point of an offset satellite dish. The feed mount must fit precisely to the LNB arm — a perfect case for 3D printing. Many proven designs are freely available.
Material Selection: PLA, PETG or ASA?
Material choice is crucial for part durability. For ham radio applications, three filaments are particularly relevant:
PLA: Easy to print, good detail, no heated bed needed — but low heat resistance (~55 °C) and not UV-stable. Use for indoor enclosures, prototypes and shack accessories.
PETG: More UV-resistant, higher heat resistance (~75 °C), impact-resistant. Use for outdoor parts, antenna components, weather-resistant enclosures.
ASA: Excellent UV resistance, high heat resistance (~100 °C), weatherproof. Needs an enclosure to print well. Use for permanent outdoor installations (mast mounts, antenna insulators).
Rule of thumb: PLA for everything that stays indoors. PETG for anything that occasionally goes outside. ASA for permanent outdoor installation.
3D Printing and RF: Any Issues?
A common question: does printed plastic affect RF characteristics? Short answer: in most cases, no. PLA, PETG and ASA have a relative permittivity (εr) of about 2.5–3.5 and very low loss factors — comparable to many commercially used insulating materials.
Caution is only warranted in a few cases: high-Q antennas like magnetic loops (use Teflon or ceramic instead), UHF/SHF frequencies above 1 GHz (material losses become relevant), and carbon fibre reinforced filaments (conductive — absolutely unsuitable for RF parts!).
STL Sources: Where to Find Templates
The community has already created thousands of designs for amateur radio. Search on Thingiverse, Printables (by Prusa), Yeggi (meta search engine), and GitHub — where many open-source ham radio projects include STL files for matching enclosures.
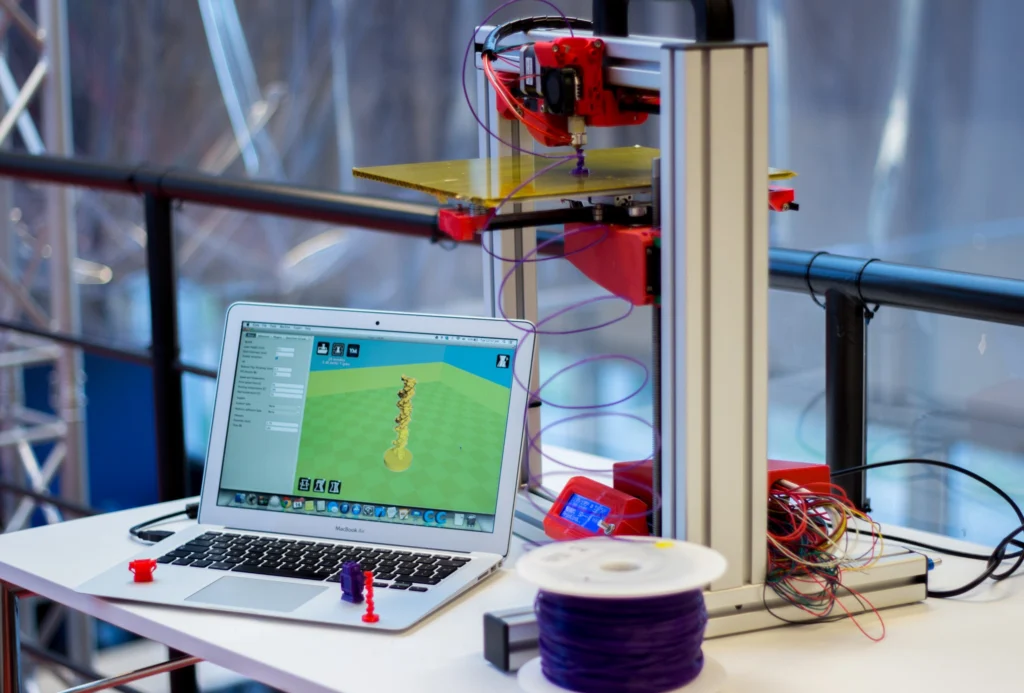
CAD Software for Beginners
For designing your own parts: Tinkercad (browser-based, extremely simple), FreeCAD (powerful, open source, parametric), Fusion 360 (professional, free for personal use), and OpenSCAD (code-based CAD — perfect for parametric designs that auto-adapt to PCB dimensions).
Recommended Printers for Beginners
For typical ham radio projects, a simple FDM printer is perfectly adequate. Proven entry-level models 2025/2026: Bambu Lab A1 mini (~EUR 200), Bambu Lab P1S (~EUR 600, enclosed for ASA), Creality Ender-3 V3 SE (~EUR 200, huge community), and Prusa MK4S (~EUR 800, premium open-source quality).
Practical Tips
- Minimum 2 mm wall thickness for mechanical stability
- Plan tolerances: Allow 0.2–0.3 mm clearance for snap and press fits
- Use heat-set inserts: Brass threaded inserts make printed enclosures professionally screwable
- Mind orientation: Orient parts so mechanical stress doesn’t act along layer boundaries
- Test print critical fits: Before printing a large enclosure, print just the critical sections as a small test piece
- PETG for outdoor use: PLA deforms in direct sunlight (car dashboard, roof installation)
Conclusion: The 3D Printer as a Shack Tool
A 3D printer belongs in the modern shack alongside the soldering iron and multimeter. Entry costs are low (from EUR 200), the possibilities nearly limitless. From quick repairs of a knob to the perfect enclosure for an ESP32 project to custom antenna mounts — the 3D printer solves problems that previously had no solution.
And the best part: the ham radio community shares designs generously. What one person develops today is available to the whole world tomorrow.
73 – your oeradio.at editorial team
Videos: 3D Printing for Ham Radio
These videos show practical applications of 3D printing in amateur radio — from enclosures and antenna mounts to complete projects:
Transparency Notice
This article was researched and written with the assistance of AI (Claude, Anthropic). Any illustrations used were generated with AI (ChatGPT/DALL·E, OpenAI) unless otherwise noted. The editorial team has reviewed and edited all content. Despite careful review, occasional inaccuracies may occur — we welcome corrections via email to [email protected].