Table of Contents
- What are weather sondes?
- Use of the data
- Why receive sondes?
- What equipment do you need?
- Hardware
- Software
- What types of sondes are there?
- 1. Vaisala RS41 (most common)
- 2. Graw DFM-09/17
- 3. Meteomodem M10/M20
- 4. LMS6 (Lockheed Martin)
- 5. iMet-4 (InterMet)
- Step-by-step guide: Receiving sondes
- Step 1: Find out the launch times
- Step 2: Find the frequency
- Step 3: Decode the signal
- radiosonde_auto_rx: a closer look at the automatic sonde tracker
- How the automatic detection works
- Supported sondes and hardware
- Data upload and web interface
- Installation in brief
- Step 4: Track the flight path
- Step 5: Hunt the sonde (optional, advanced)
- Tips for better reception
- 1. Antenna optimisation
- 2. Minimise interference
- 3. Mind the timing
- 4. Mind the weather
- Community and resources
- Websites
- Software
- Communities
- Legal
- May I receive sonde signals?
- May I keep sondes I find?
- Conclusion
- Transparency Notice
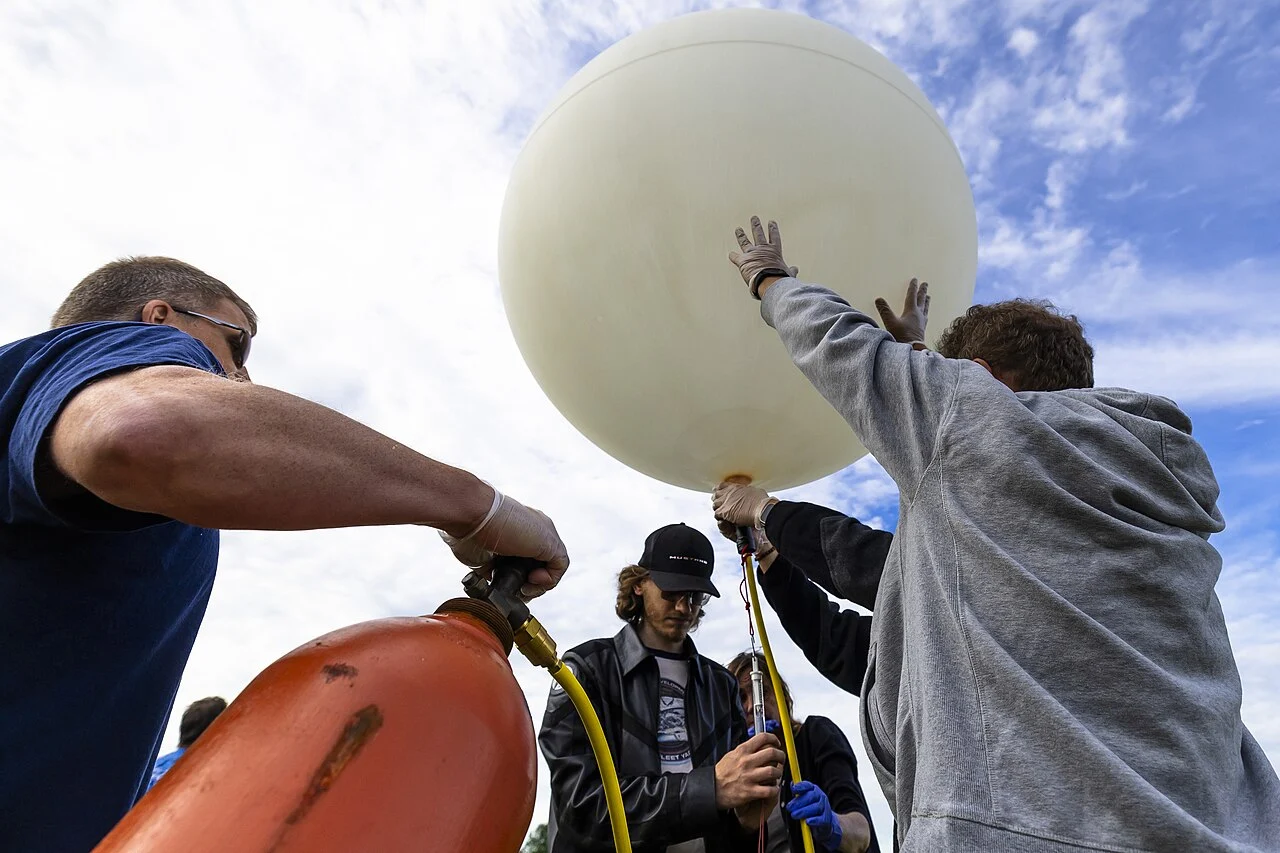
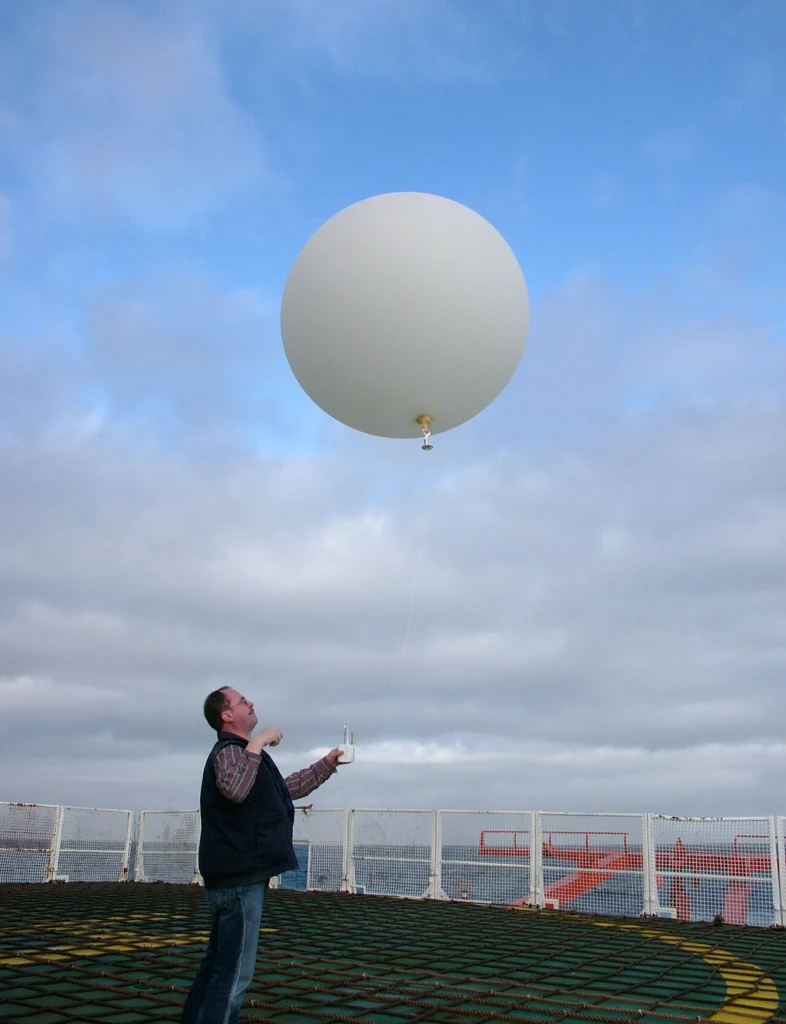
Every day, thousands of weather balloons rise around the world, equipped with radiosondes that measure temperature, air pressure and humidity – and transmit their measurements by radio to the ground station. With an inexpensive RTL-SDR dongle and free software, you too can receive these signals, decode them and track the flight path live. An exciting project at the intersection of meteorology, radio technology and data analysis!
New to SDR? Then start with What is an SDR? An overview for radio friends and RTL-SDR for beginners: Discover the world of radio for 30 euros. The following video gives a good first impression of what reception looks like in practice:
What are weather sondes?
Radiosondes are small, battery-powered measuring instruments attached to weather balloons that continuously collect data during the ascent up to an altitude of 30–35 km:
- Temperature (from ground level to the stratosphere)
- Air pressure (for altitude determination)
- Relative humidity
- GPS position (for wind measurement and tracking)
This data is transmitted by radio to the ground station – typically in the 400 MHz band (mostly 402–406 MHz). Weather sondes are launched twice a day (00:00 and 12:00 UTC) by hundreds of stations worldwide. In Austria, only the Vienna-Hohe Warte station launches regularly today; there used to be ascents in Graz, Innsbruck and Linz/Hörsching as well, but these have since been discontinued. However, sondes from neighbouring countries (Germany, Slovenia, Italy, Hungary, the Czech Republic) regularly drift over Austria – these can be received too.
Use of the data
The collected data feeds into:
- Weather forecast models (global and regional models)
- Climate research
- Aviation safety
- Scientific research (atmospheric physics)
Why receive sondes?
- Learn: Understand radio transmission, modulation, data protocols
- Track: Watch live as a balloon rises, bursts and falls back to Earth
- Hunt: Find landed sondes (GPS coordinates are transmitted!)
- Science: Build your own weather data time series
- Community: Become part of the international radiosonde community
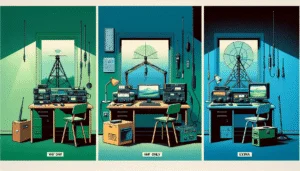
What equipment do you need?
Hardware
1. RTL-SDR dongle (20–30 €)
- RTL-SDR v3 or RTL-SDR Blog v4
- Frequency range: 500 kHz – 1766 MHz (covers 400 MHz perfectly)
- USB connection
More on this: RTL-SDR for beginners: Discover the world of radio for 30 euros
2. Antenna
- Simplest solution: The supplied telescopic antenna (works up to ~50 km range)
- Better option: 1/4-wave groundplane for 400 MHz (~18 cm length + 4 radials)
- Pro setup: Directional antenna (Yagi) for greater range (100+ km)
3. Computer
- Windows, Linux or macOS
- A Raspberry Pi works perfectly too – see Raspberry Pi in the shack: The best amateur radio applications 2026
Software
1. SDR software (for signal reception)
- SDR# (Windows) – simple and popular
- GQRX (Linux/macOS)
- CubicSDR (all platforms)
2. Decoding software
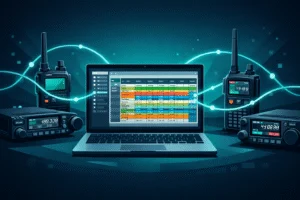
- SondeHub Tracker – web-based, automatic decoding and online map
- radiosonde_auto_rx – automatic tracker for Raspberry Pi/Linux
- rs41tracker – for Vaisala RS41 sondes
- dxlAPRS – advanced tool with APRS integration
3. Visualisation
- SondeHub: sondehub.org – world map of all active sondes
- Radiosondy.info: radiosondy.info – historical data, forecasts
What types of sondes are there?
Different manufacturers and models use various modulation methods and frequencies:
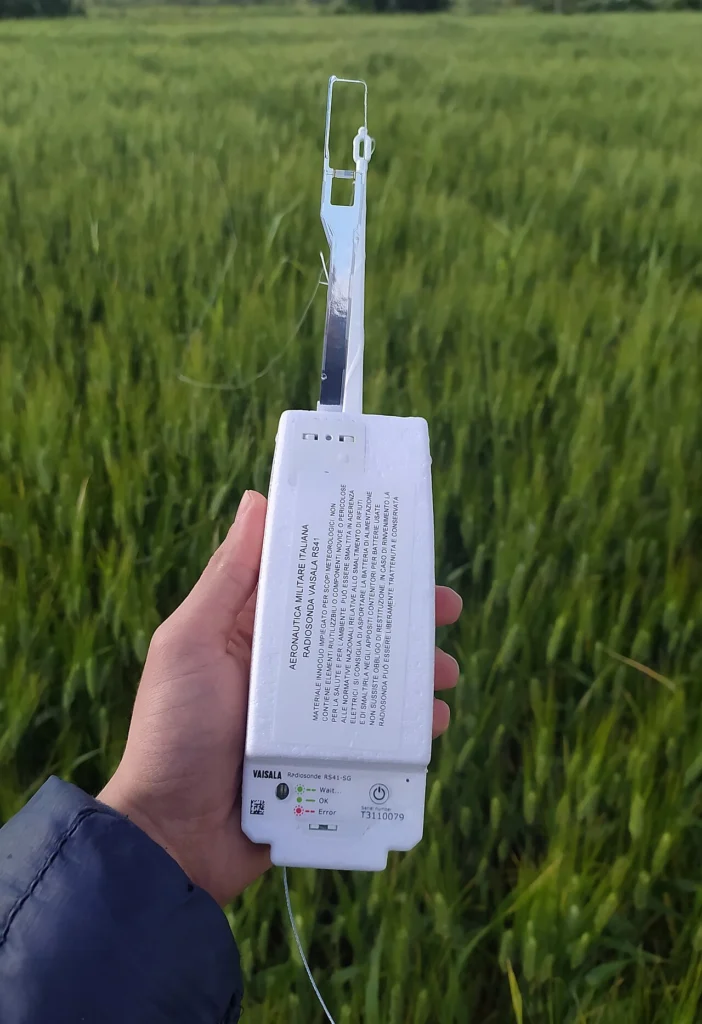
1. Vaisala RS41 (most common)
- Manufacturer: Vaisala (Finland)
- Frequency: 400–406 MHz (mostly 402–405 MHz)
- Modulation: GFSK (Gaussian Frequency Shift Keying)
- Baud rate: 4800 baud
- Notable: GPS data + PTU sensors, very robust
- Prevalence: The most widespread worldwide, including in Austria
2. Graw DFM-09/17
- Manufacturer: Graw (Germany)
- Frequency: 401.500–404.000 MHz
- Modulation: FSK
- Notable: German manufacturer, common in Europe
3. Meteomodem M10/M20
- Manufacturer: Meteomodem (France)
- Frequency: 401.500–405.700 MHz
- Modulation: GFSK/2FSK (FSK family, ~9600 baud, biphase/Manchester encoding)
4. LMS6 (Lockheed Martin)
- Manufacturer: Lockheed Martin (USA)
- Frequency: 400.500–406.000 MHz
- Modulation: FSK
- Prevalence: USA, less common in Europe
5. iMet-4 (InterMet)
- Manufacturer: InterMet (USA)
- Frequency: 400.500–406.000 MHz
- Modulation: AFSK (Bell 202)
Tip: In Austria and Central Europe you will mainly receive Vaisala RS41 sondes – these are very well documented and easy to decode.
Step-by-step guide: Receiving sondes
Step 1: Find out the launch times
Weather sondes are launched worldwide at fixed times:
- 00:00 UTC (01:00 CET in winter, 02:00 CEST in summer)
- 12:00 UTC (13:00 CET in winter, 14:00 CEST in summer)
Active launch station in Austria:
- Vienna-Hohe Warte (WMO 11035) – currently the only radiosonde station in Austria that launches regularly (00:00 and 12:00 UTC)
Note: The former Austrian stations in Graz, Innsbruck and Linz/Hörsching no longer launch sondes; Salzburg was never a radiosonde station. On the other hand, sondes from neighbouring countries often drift over Austria – so it’s worth checking the live map even without a local launch.
Forecast tools:
- radiosondy.info – shows forecasts of when a sonde will be within reach near you
- sondehub.org – live map of all active sondes
Step 2: Find the frequency
The exact frequency varies:
- Typical: 402.000–405.000 MHz
- Bandwidth: ±5 kHz
Procedure:
- Open SDR software (e.g. SDR#)
- Set the frequency to 403.000 MHz (a good middle value)
- Set the mode to NFM (Narrowband FM)
- Bandwidth: 10–15 kHz
- Watch the waterfall display – after the signal begins (00:00 or 12:00 UTC) a strong signal should appear
What does a weather sonde sound like?
A continuous, monotone “beep-beep-beep” or a data-like hissing noise – not a voice signal!
Step 3: Decode the signal
The following tutorial shows step by step how to decode an RS41 with SDRangel:
Method A: SondeHub Tracker (simplest solution)
- Visit sondehub.org
- Click on “Upload Data” → “Auto RX Setup”
- Follow the instructions to install radiosonde_auto_rx
- The software decodes automatically and uploads data to SondeHub
- See your received sondes live on the world map!
Method B: Manually with rs41tracker
- Download rs41tracker (GitHub)
- Connect the SDR dongle
- Start rs41tracker with the received frequency
- The tool decodes GPS position, temperature, pressure, humidity
- Export data as KML for Google Earth or CSV for Excel
radiosonde_auto_rx: a closer look at the automatic sonde tracker
By far the most popular software for permanent sonde reception is radiosonde_auto_rx – an open-source project by Project Horus around Mark Jessop (VK5QI), who is also behind SondeHub. Unlike a manual decoder, auto_rx is built for unattended 24/7 operation: once set up, it runs around the clock on a Raspberry Pi or Linux machine, hunts for sondes on its own, decodes them and uploads the data. Perfect for a fixed receive station that is ready automatically at every launch (00:00 and 12:00 UTC).
How the automatic detection works
The core is an automatic frequency scan: auto_rx uses rtl_power to sweep across the sonde band (typically 400–406 MHz) and looks for signal peaks. When it finds a candidate, it automatically identifies the sonde type and launches the matching decoder. The big advantage: you need to know neither the launch time nor the frequency in advance – information the weather service usually does not publish. If you do know the frequency, a whitelist lets you scan only specific channels and save CPU load.
Supported sondes and hardware
- Over 16 sonde types: Vaisala RS41 & RS92, Graw DFM-06/09/17, Meteomodem M10/M20, InterMet iMet-4/54, Meisei iMS-100/RS11G, Lockheed Martin LMS6, MRZ-H1, MTS01 and more – with position, temperature, pressure and humidity depending on type.
- SDR hardware: RTL-SDR (v3/v4) as well as Airspy Mini and Airspy R2. An Airspy R2 can monitor the entire sonde band at once – a Raspberry Pi 4 is enough as the host.
- Multiple sondes at once: with several SDR dongles auto_rx can track several sondes in parallel.
Data upload and web interface
- SondeHub: by default positions are reported to the SondeHub Radiosonde Tracker and appear live on the world map.
- APRS-IS: optional upload to the APRS network – see APRS in Austria.
- ChaseMapper: link-up with the mobile chase app for sonde hunting by car.
- Local web interface: a built-in web GUI shows the live station status, past flights and the measurements as a Skew-T diagram – no cloud, right on your own device.
Installation in brief
auto_rx is fetched via git clone from GitHub, the decoders are compiled locally (C/Python), and the station is configured through a station.cfg (location, SDR, upload services). It then runs as a background service – ideal for 24/7 operation on a power-sipping Raspberry Pi (see Raspberry Pi in the shack). The fastest start is the “Auto RX Setup” wizard right on sondehub.org. The software is licensed under GPL v3; uploaded telemetry is provided under Creative Commons BY-SA.
Step 4: Track the flight path
Once decoded, you will see:
- GPS position: Longitude, latitude, altitude
- Speed: Horizontal and vertical speed
- PTU data: Pressure, Temperature, Humidity
- Ascent rate: Typically 5–6 m/s
Typical flight profile:
- Launch: Ground station, strong signal
- Ascent: 30–90 minutes, signal weaker (greater distance, but line-of-sight improves)
- Burst: At ~30–35 km altitude the balloon bursts
- Descent: The parachute opens, the sonde initially falls very fast and slows down near the ground (~14 m/s)
- Landing: GPS coordinates continue to be transmitted (as long as the battery holds out)
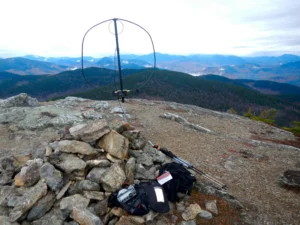
Step 5: Hunt the sonde (optional, advanced)
Since GPS coordinates are transmitted, you can drive to the landing site and collect the sonde. Mark VK5QI – one of the developers of radiosonde_auto_rx and SondeHub – shows what this looks like in practice:
- Legal situation: In Germany, many sondes carry a note that they do not need to be returned; in Austria there is no explicit regulation – in practice, landed sondes are treated as ownerless found property (see the “Legal” section)
- Respect: Do not enter private property without permission
- Reuse: RS41 sondes can be reused after a reset
- Collectors: Many sonde hunters collect different models
Tips for better reception
1. Antenna optimisation
- Height: The higher the antenna, the better (attic, balcony, mast)
- Clear view: No obstacles in the direction of the sonde
- Polarisation: Vertical polarisation (most sondes transmit vertically)
- Directional antenna: A Yagi for 400 MHz extends the range to 100+ km
More on antennas: Yagi antennas for VHF/UHF: Building directional antennas yourself
2. Minimise interference
- Shield USB cables or use ferrite filters
- Keep distance from the PC, monitors and switching power supplies
- LNA (Low Noise Amplifier) for very weak signals
3. Mind the timing
- Be ready 5–10 minutes before the launch (00:00 or 12:00 UTC)
- Signal strength is highest at the start (sonde still on/near the ground)
- Weaker during ascent, stronger again at 20+ km altitude (line-of-sight)
4. Mind the weather
- In strong wind the sonde drifts further away
- Thunderstorms can delay or cancel launches
- Forecast tools (radiosondy.info) show the predicted flight path
Community and resources
Websites
- SondeHub: sondehub.org – live world map, auto-upload
- Radiosondy.info: radiosondy.info – forecasts, historical data
- APRS: Some stations also transmit sonde data via APRS – more on this in APRS in Austria: Position reports, weather data and more
Software
- radiosonde_auto_rx: GitHub – automatic tracker (Project Horus)
- rs41tracker / RS-Decoder: GitHub – manual decoders (rs1729)
- dxlAPRS: GitHub – advanced tool
Communities
- Reddit: r/RTLSDR, r/amateursatellites
- Groups.io: Radiosonde mailing list
- Twitter/X: #radiosonde, #sondehub
Also relevant: Satellite tracking and reception for beginners as well as Air band and ADS-B: Tracking aircraft with RTL-SDR – both are also reception projects using the RTL-SDR.
Legal
May I receive sonde signals?
Yes, in Austria and most countries reception is legal.
- Weather sondes transmit on non-exclusive frequencies
- Reception is passive (no transmitting required)
- No amateur radio licence needed
May I keep sondes I find?
- In Germany, explicitly yes: Many DWD sondes carry a sticker stating that they may be kept or disposed of (exception: please return ozone sondes)
- In Austria: There is no official regulation; in practice, landed sondes are treated as ownerless found property. When in doubt, the law on found property applies
- Private property: If you enter someone else’s land, ask for permission beforehand
Conclusion
Weather sonde reception is a fascinating project that combines radio technology, meteorology and GPS tracking. With an RTL-SDR dongle for 30 euros you can:
- Receive live data from the stratosphere
- Track balloons as they ascend up to 35 km altitude
- Decode weather data (temperature, pressure, humidity)
- Become part of the worldwide sonde-hunter community
- With a bit of luck: find and collect a sonde in the field!
If SDR and signal analysis interest you, also have a look at: SDR receivers compared 2026, HackRF PortaPack and CubeSats for radio amateurs.
Tip: The next sonde launch near you is only hours away – get started now!
73 and good luck with sonde hunting!
Transparency Notice
This article was researched and written with the support of AI (Claude, Anthropic). Our editorial team has reviewed and edited all content. Despite careful checking, occasional inaccuracies may remain — we welcome corrections by email to [email protected].
Cover image: Photouploadforscience, CC BY 4.0, via Wikimedia Commons.