The year is 2025. OE8LUA is a freshly licensed ham and a total rookie when it comes to choosing the right equipment…..
In May, OE8KSM was kind enough to lend me an RT-95, and through other channels a Diamond X300 came into my possession.
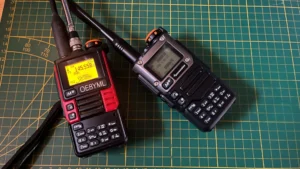
Initially I bought a bench power supply for 70 euros, thinking it would deliver enough juice. Said and done — antenna provisionally attached to the garden fence, RG316 fed through the window frame into the house and connected to the RT-95. Power supply set to about 14.8 volts and 5 amps. Then I contacted KSM on simplex 600, telling him to be QRV on S22…
The first QSO — smoke and sparks
So, first QSO… KSM comes back and I wanted to immediately respond with my callsign, pressed the PTT button… suddenly the power supply flickers — the RT-95 crackles and pops, and to properly quote that old TV commercial: “it smoked and stunk => Telefunken”. And it’s not even my radio… Well — after everything powered back on — relief, and I reduced the RT-95’s power down to 5 watts… after that the QSO with KSM was possible. But an uneasy feeling remained… what just went up in smoke??
You try things, test stuff… everything seems to work.. until I went into the radio’s menu and switched the speaker settings from the mic to the unit itself… — dead silence.
Troubleshooting
OK — let’s get to the bottom of this… Opened the radio with KSM’s permission and started troubleshooting. Tested the speaker… it was fine… also connected it via a workaround to the PC’s audio output — worked. Then I thought… damn, did I really kill the audio amplifier with that underpowered bench supply?
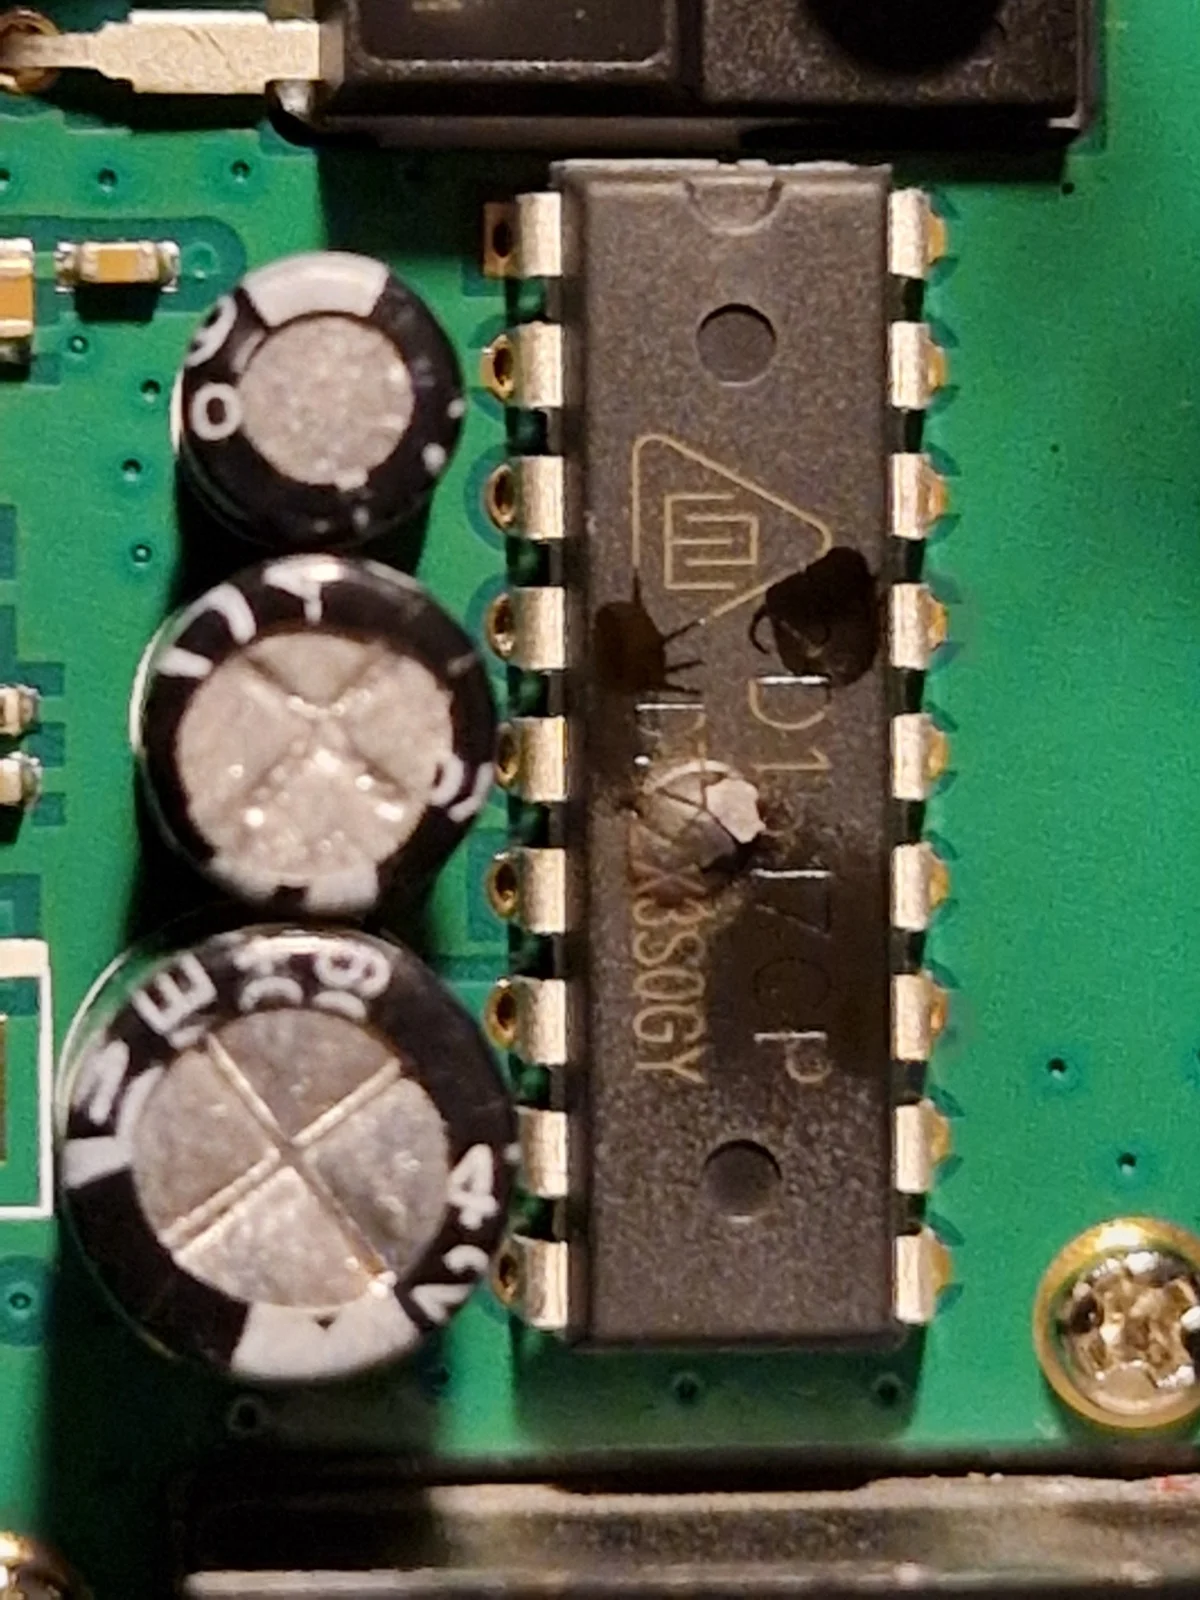
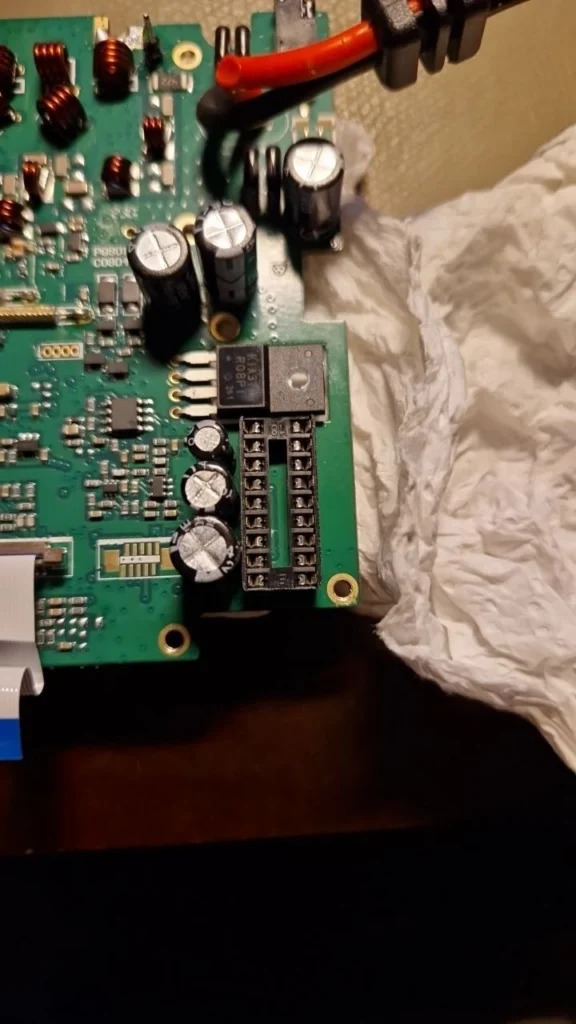
A lengthy internet search for schematic and component layout of the RT-95 followed. Once I had everything, the search continued on the PCB… With a magnifying lamp and trusting my own nose… and…

Sourcing parts and disassembly
So… where do you get the replacement part?… KSM ordered 10 of the ICs from AliExpress… because otherwise no delivery to Austria if the minimum order of 10 pieces wasn’t met… Cost: 7 euros plus shipping. My thought: fine and good… if this stuff is that fragile, I’ll order matching IC sockets as well.
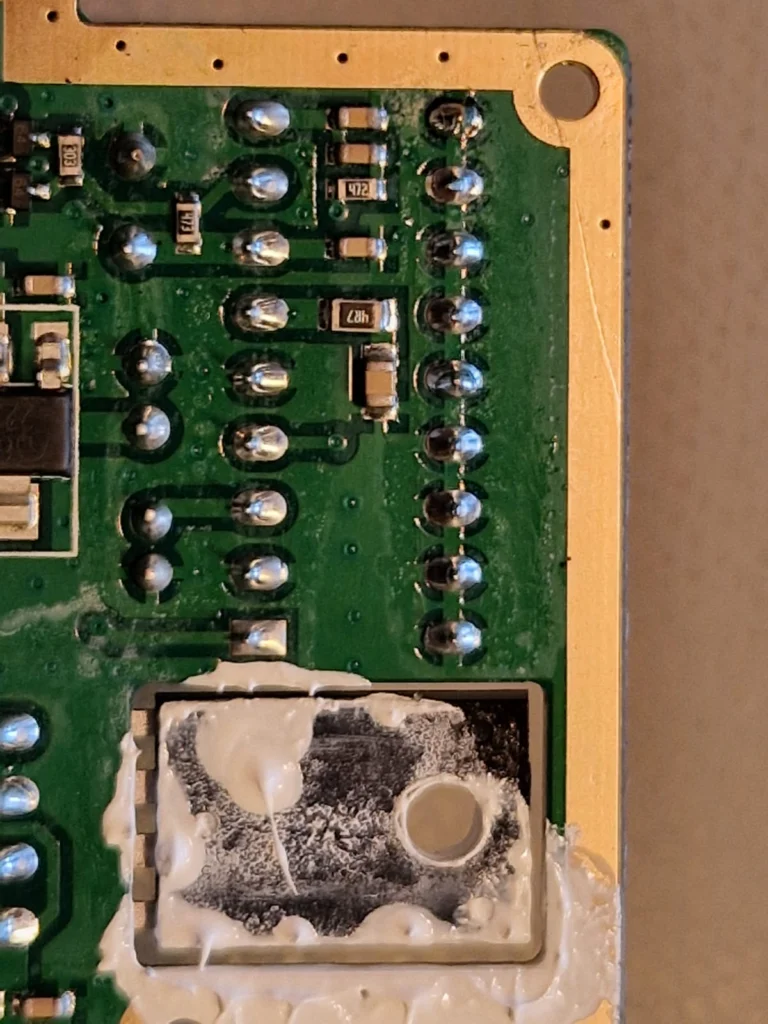
Then the battle of disassembly began… Suspecting that the housing was connected to the components via thermal paste — meaning we’d need fresh thermal paste too. Once everything was really on hand, I finally started removing the PCB… The main problem was the antenna connector, which was so massively soldered in that I had to get extra advice from JHK… only after his tip could the board finally be freed from the housing.
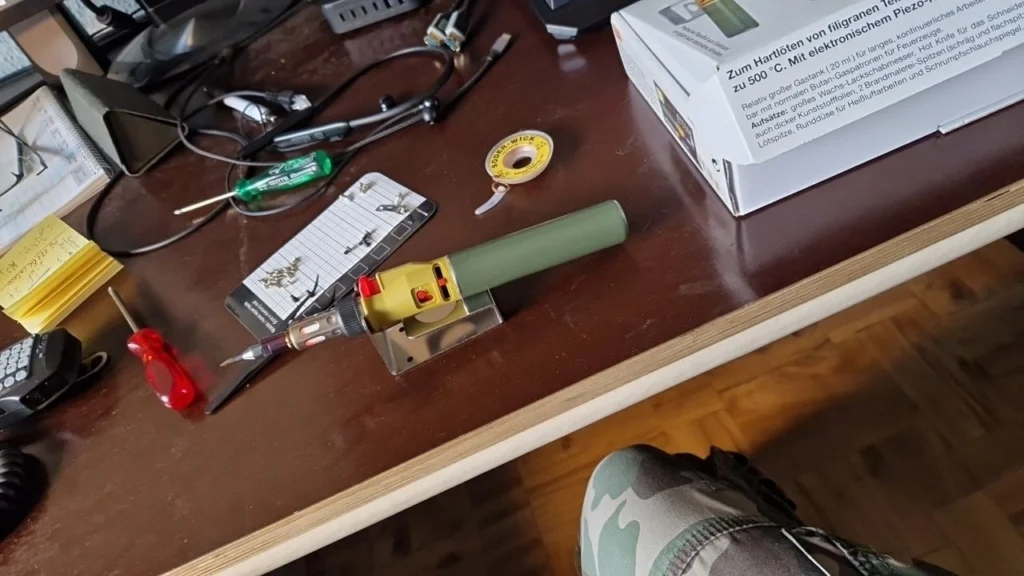
Thanks to JHK’s tips, the process of desoldering and soldering turned out to be quite straightforward — if you take an experienced OM’s knowledge into account.
Reassembly and the moment of truth
Once everything was soldered in, the old excess thermal paste was removed from both sides and fresh paste applied — not too much and not too little — was totally by feel and experience from PC building.
Then came the anxious moment… does the thing still work or have I finished it off for good???
The moment of powering up… are 130 euros that aren’t even mine gone up the chimney?
In the meantime, on JHK’s advice, I also got a proper starter power supply for about 180 euros with 55 amperes….
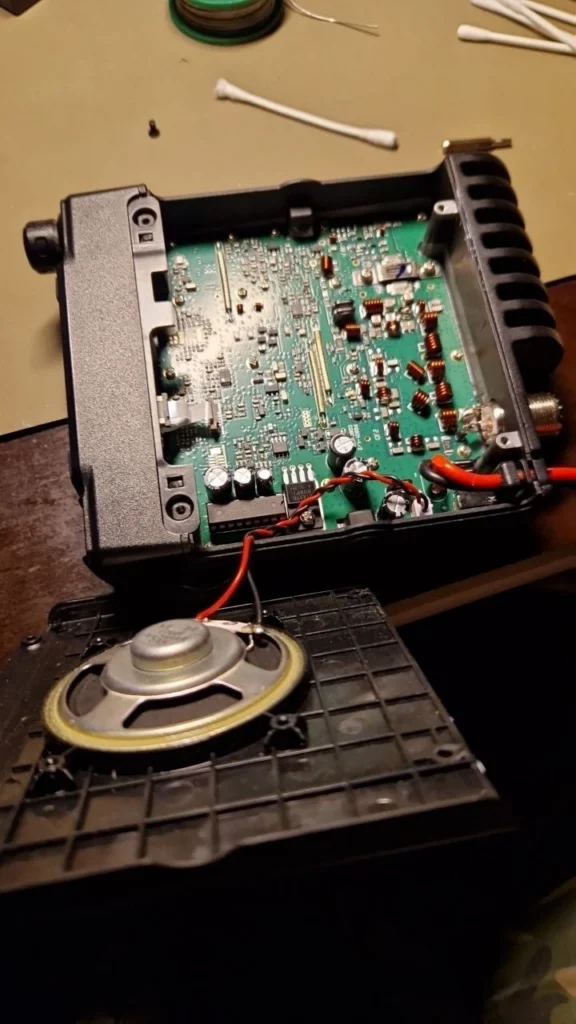
Will the radio start?…
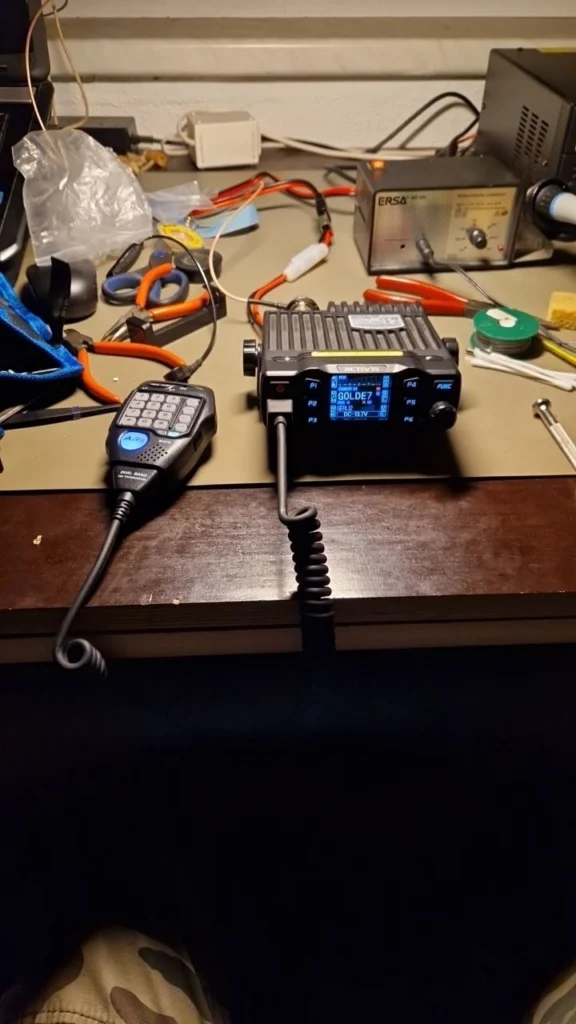
It was already 3 AM UTC+1… Set the config to internal speaker and waited for the Gerlitze repeater OE8XNK to come through…

Conclusion
Even though my first QSO went up in smoke, I learned a lot about being self-reliant. In hindsight, it was actually fun to put what I learned in the lab 20 years ago during my studies into practice — and succeed.
73 de OE8LUA
This is a guest post by Andreas, OE8LUA. The text was kept in its original form. Got your own story from the shack or the field? Write to us at [email protected]!