
Since my QTH is in a hollow surrounded by hills, connecting to other nodes just isn’t possible from here. And let’s be honest: hanging a node directly on the internet is basically WhatsApp with an extra box. It’s like DMR with a hotspot. Sure, it has its place when there’s no other option – but is it still amateur radio when the radio distance is 20 cm and the internet does the rest?
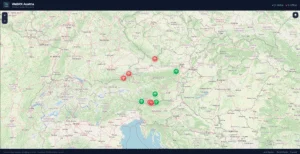
So my idea was: I need to get a node up on a mountain, because that’s where I’ll have line of sight to other nodes. And what better place than the Hocheck – the first 1000-metre peak south of Vienna, with a view from Melk in the west, across Vienna all the way to Bratislava in the northeast, the Neusiedlersee to the east, and the Wechsel and Schneeberg to the south. From that QTH I’ve already worked Linz and Bratislava simplex with the Anytone – so it’s perfect.
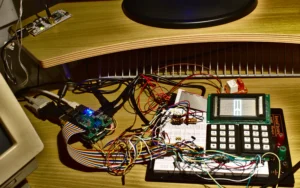
Equipment. From my junk box I found most of the parts for a first attempt, and the rest is handled by the Anycubic or the Bambulab.
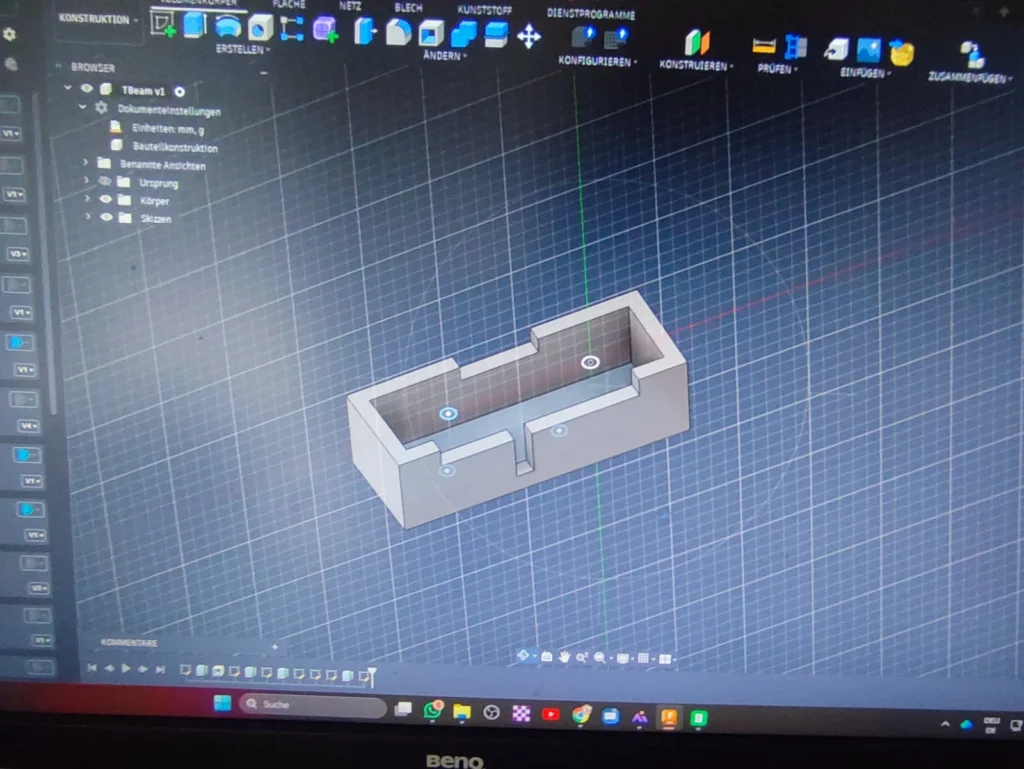
The links contain comparable parts, or in some cases exactly the parts I used.
Here’s what I need to go off-grid:
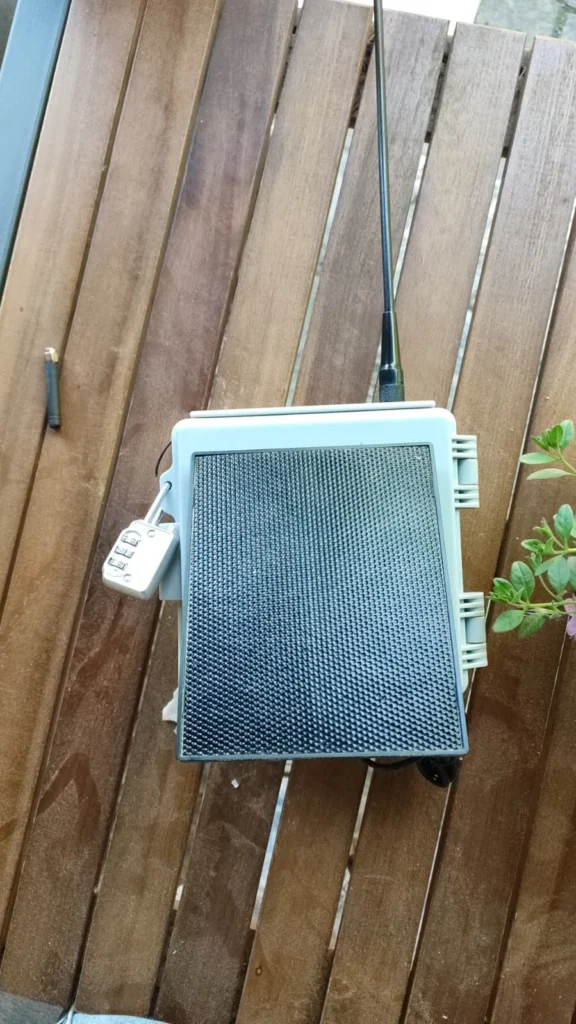
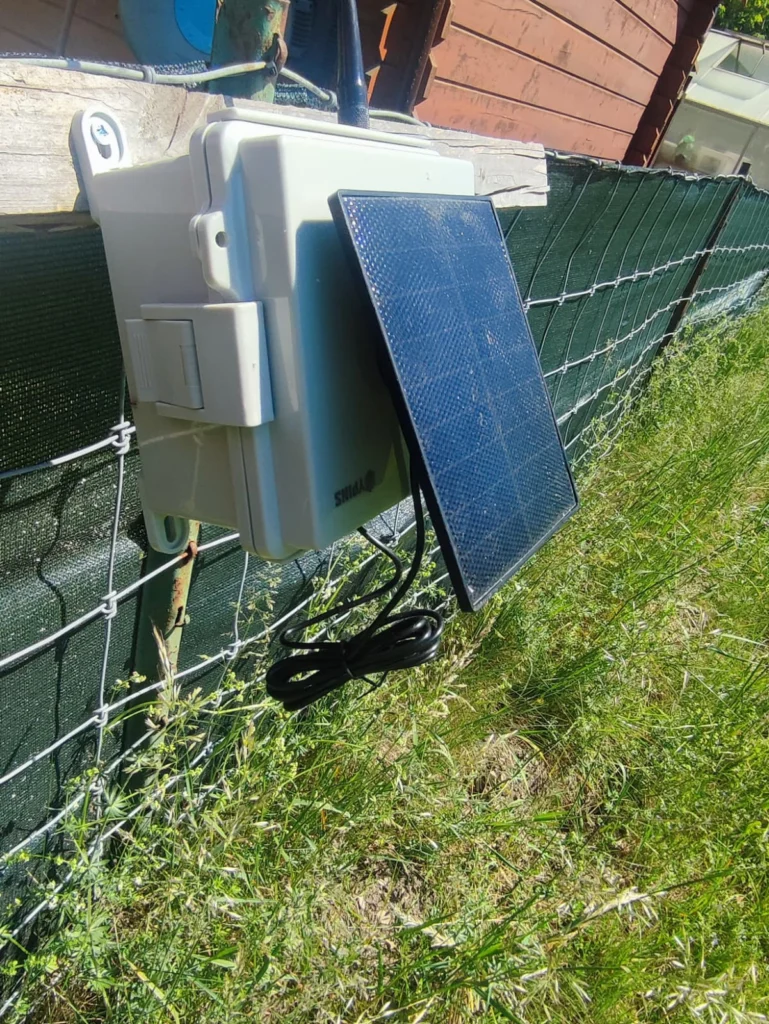
A power source: In this case a solar panel. The company threw it out.
Energy storage: 3x 18650. I went with 3500 mAh, but there are loads of options out there.
To hold the cells: A plastic battery holder.
The antenna: Ugh, I don’t like admitting this, but it was simply a bad purchase. Well – you should probably know which connectors your device actually has ;-).
And the enclosure: Bought that from the big A…
As the board I used the T-Beam from LilyGo. Ordered from a Chinese supplier. I’d bought 4 of them back in the day and they’d just been sitting around.
The advantage of this board is that it already has an 18650 holder built in, charging electronics are included, and it’s very easy to solder on a cable for battery expansion. The extra cells were soldered in parallel to the board.
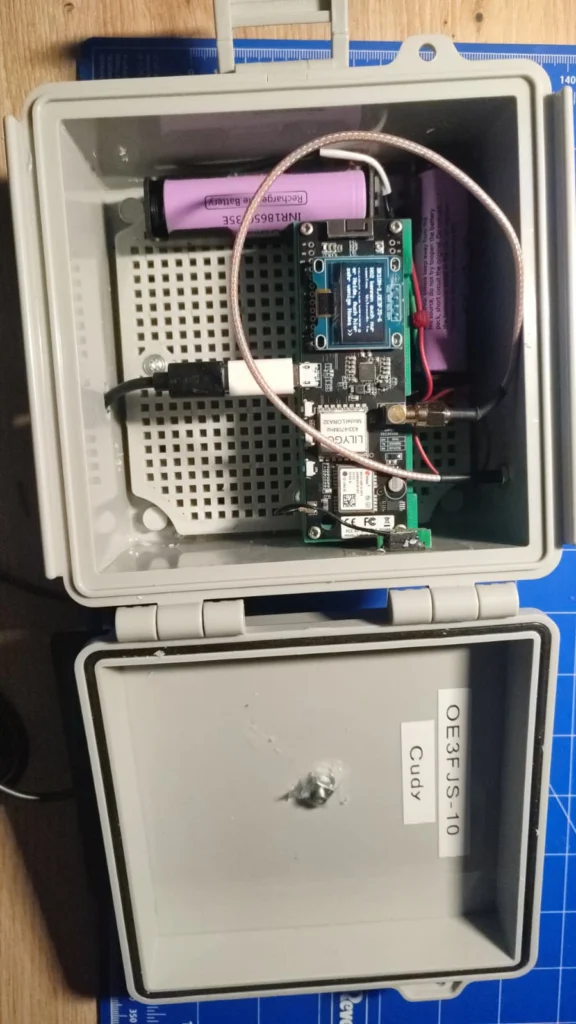
The advantage of this enclosure is the continuous gasket seal all around and the mounting plate that makes it easy to fix everything in place.
Now the testing phase begins… First at my home QTH (battery runtime, how does charging look,…). If that’s satisfactory, it’s heading up the mountain!
The equipment for a 12V variant with a 20W panel, a home-built battery with BMS and charge controller, and an enclosure is already standing by. … But then Meshtastic comes into play too :-).
Well, amateur radio is technically experimental – or so they taught us.
Now it’s your turn:
My question to you: How long will it run off-grid?
Now it’s time for the engineers, nerds, gamers, calculators, estimators, meteorologists, and solar experts to step up…
The cells will be charged to 100%, then the whole thing gets screwed to my fence…
How long will it go? What’s your guess?
The winner gets not just fame and glory on the Wall of Fame, but a Baofeng UV-K something-something Mini donated by me!!!!!
73 de OE3FJS