Table of Contents
- What is the MSI2500?
- Technical data MSI2500
- What is the MSI2500 suitable for?
- Important information about the MSI2500
- What you need
- Step 1: Open Terminal
- Step 2: Update system
- Step 3: Install basic tools
- Step 4: Block kernel modules
- Step 5: Install libmirisdr
- Step 6: Set up USB permissions
- Step 7: Install RTL-SDR with MSI2500 support
- Step 8: Install GQRX
- Step 9: Test the device
- Step 10: Configure and start GQRX
- Step 11: Test initial reception
- Step 12: Create desktop shortcut (optional)
- Troubleshooting
- Problem: "No supported devices found"
- Problem: "Failed to open mirisdr device"
- Problem: Many "OOOO" messages (buffer overflows)
- Problem: No audio
- Recommended settings for various applications
- FM radio (FM broadcast)
- Aviation radio
- Amateur radio 2m FM
- PMR446 / Freenet
- Technical Notes
- Supported frequency ranges
- Performance tips
- Related resources
- Summary of the most important commands
- System updates
- Start GQRX
- Check device
- Remove kernel modules (if necessary)
- Reload libraries (after installing new software)
- Frequently asked questions (FAQ)
- Q: Does this also work with other MSI2500 based devices?
- Q: Can I use multiple SDR devices at the same time?
- Q: Do I need an antenna?
- Q: Does this also work on Ubuntu derivatives like Linux Mint?
- Q: Can I also send (transmit)?
- License and Disclaimer
This guide shows how to get an MSI2500 based SDR receiver (like RSP1 Clones) running on Ubuntu Linux with GQRX. The instructions are also suitable for beginners without much Linux experience.
What is the MSI2500?
The MSI2500 is an SDR receiver chip that is installed in many inexpensive SDR dongles. These devices are often sold as “RSP1 Clone” or “MSI2500 SDR” and offer excellent value for money for beginners and advanced users.
Technical data MSI2500
| Property | Specification |
|---|---|
| Frequency range | 1 kHz – 2 GHz (depending on hardware variant) |
| ADC resolution | 12 Bit |
| Maximum Sample Rate | 10 MSPS (Mega Samples per Second) |
| Bandwidth | Up to 10 MHz |
| USB Interface | USB 2.0 |
| Power supply | Bus-powered (via USB) |
| Tuner | Zero-IF architecture |
What is the MSI2500 suitable for?
✅ Well suited for:
- FM Radio (FM Broadcast): Excellent reception from 88-108 MHz, RDS decoding possible
- Aviation radio: Reception from 118-137 MHz (AM)
- Amateur radio reception: All amateur radio bands from HF to UHF (reception only!)
- PMR446 / Freenet: Monitoring of radio devices
- Weather satellites: NOAA APT images (137 MHz)
- ADS-B: Aircraft tracking on 1090 MHz
- DAB/DAB+: Digital radio reception
- Trunked Radio: Decoding with appropriate software
- POCSAG/FLEX: pager decoding
- Spectrum analysis: Up to 2 GHz for RF measurements
- Learning and experimentation platform: Ideal for SDR beginners
❌ Not suitable for:
- Send/Transmit: MSI2500 is only a receiver (RX only)
- Very wide bandwidths: Maximum 10 MHz (other hardware required for >10 MHz)
- Professional applications: Frequency stability is not comparable to high-end devices
Important information about the MSI2500
⚠️ Quality differences in clones
MSI2500-based devices are produced by various manufacturers. The quality can vary greatly:
- Frequency Accuracy: Some devices have larger PPM deviations
- Noise: Different levels depending on the build quality
- Casing: From cheap plastic to metal casing
- Connectors: SMA quality varies
Tip: Read reviews before buying and buy from reputable dealers!
What you need
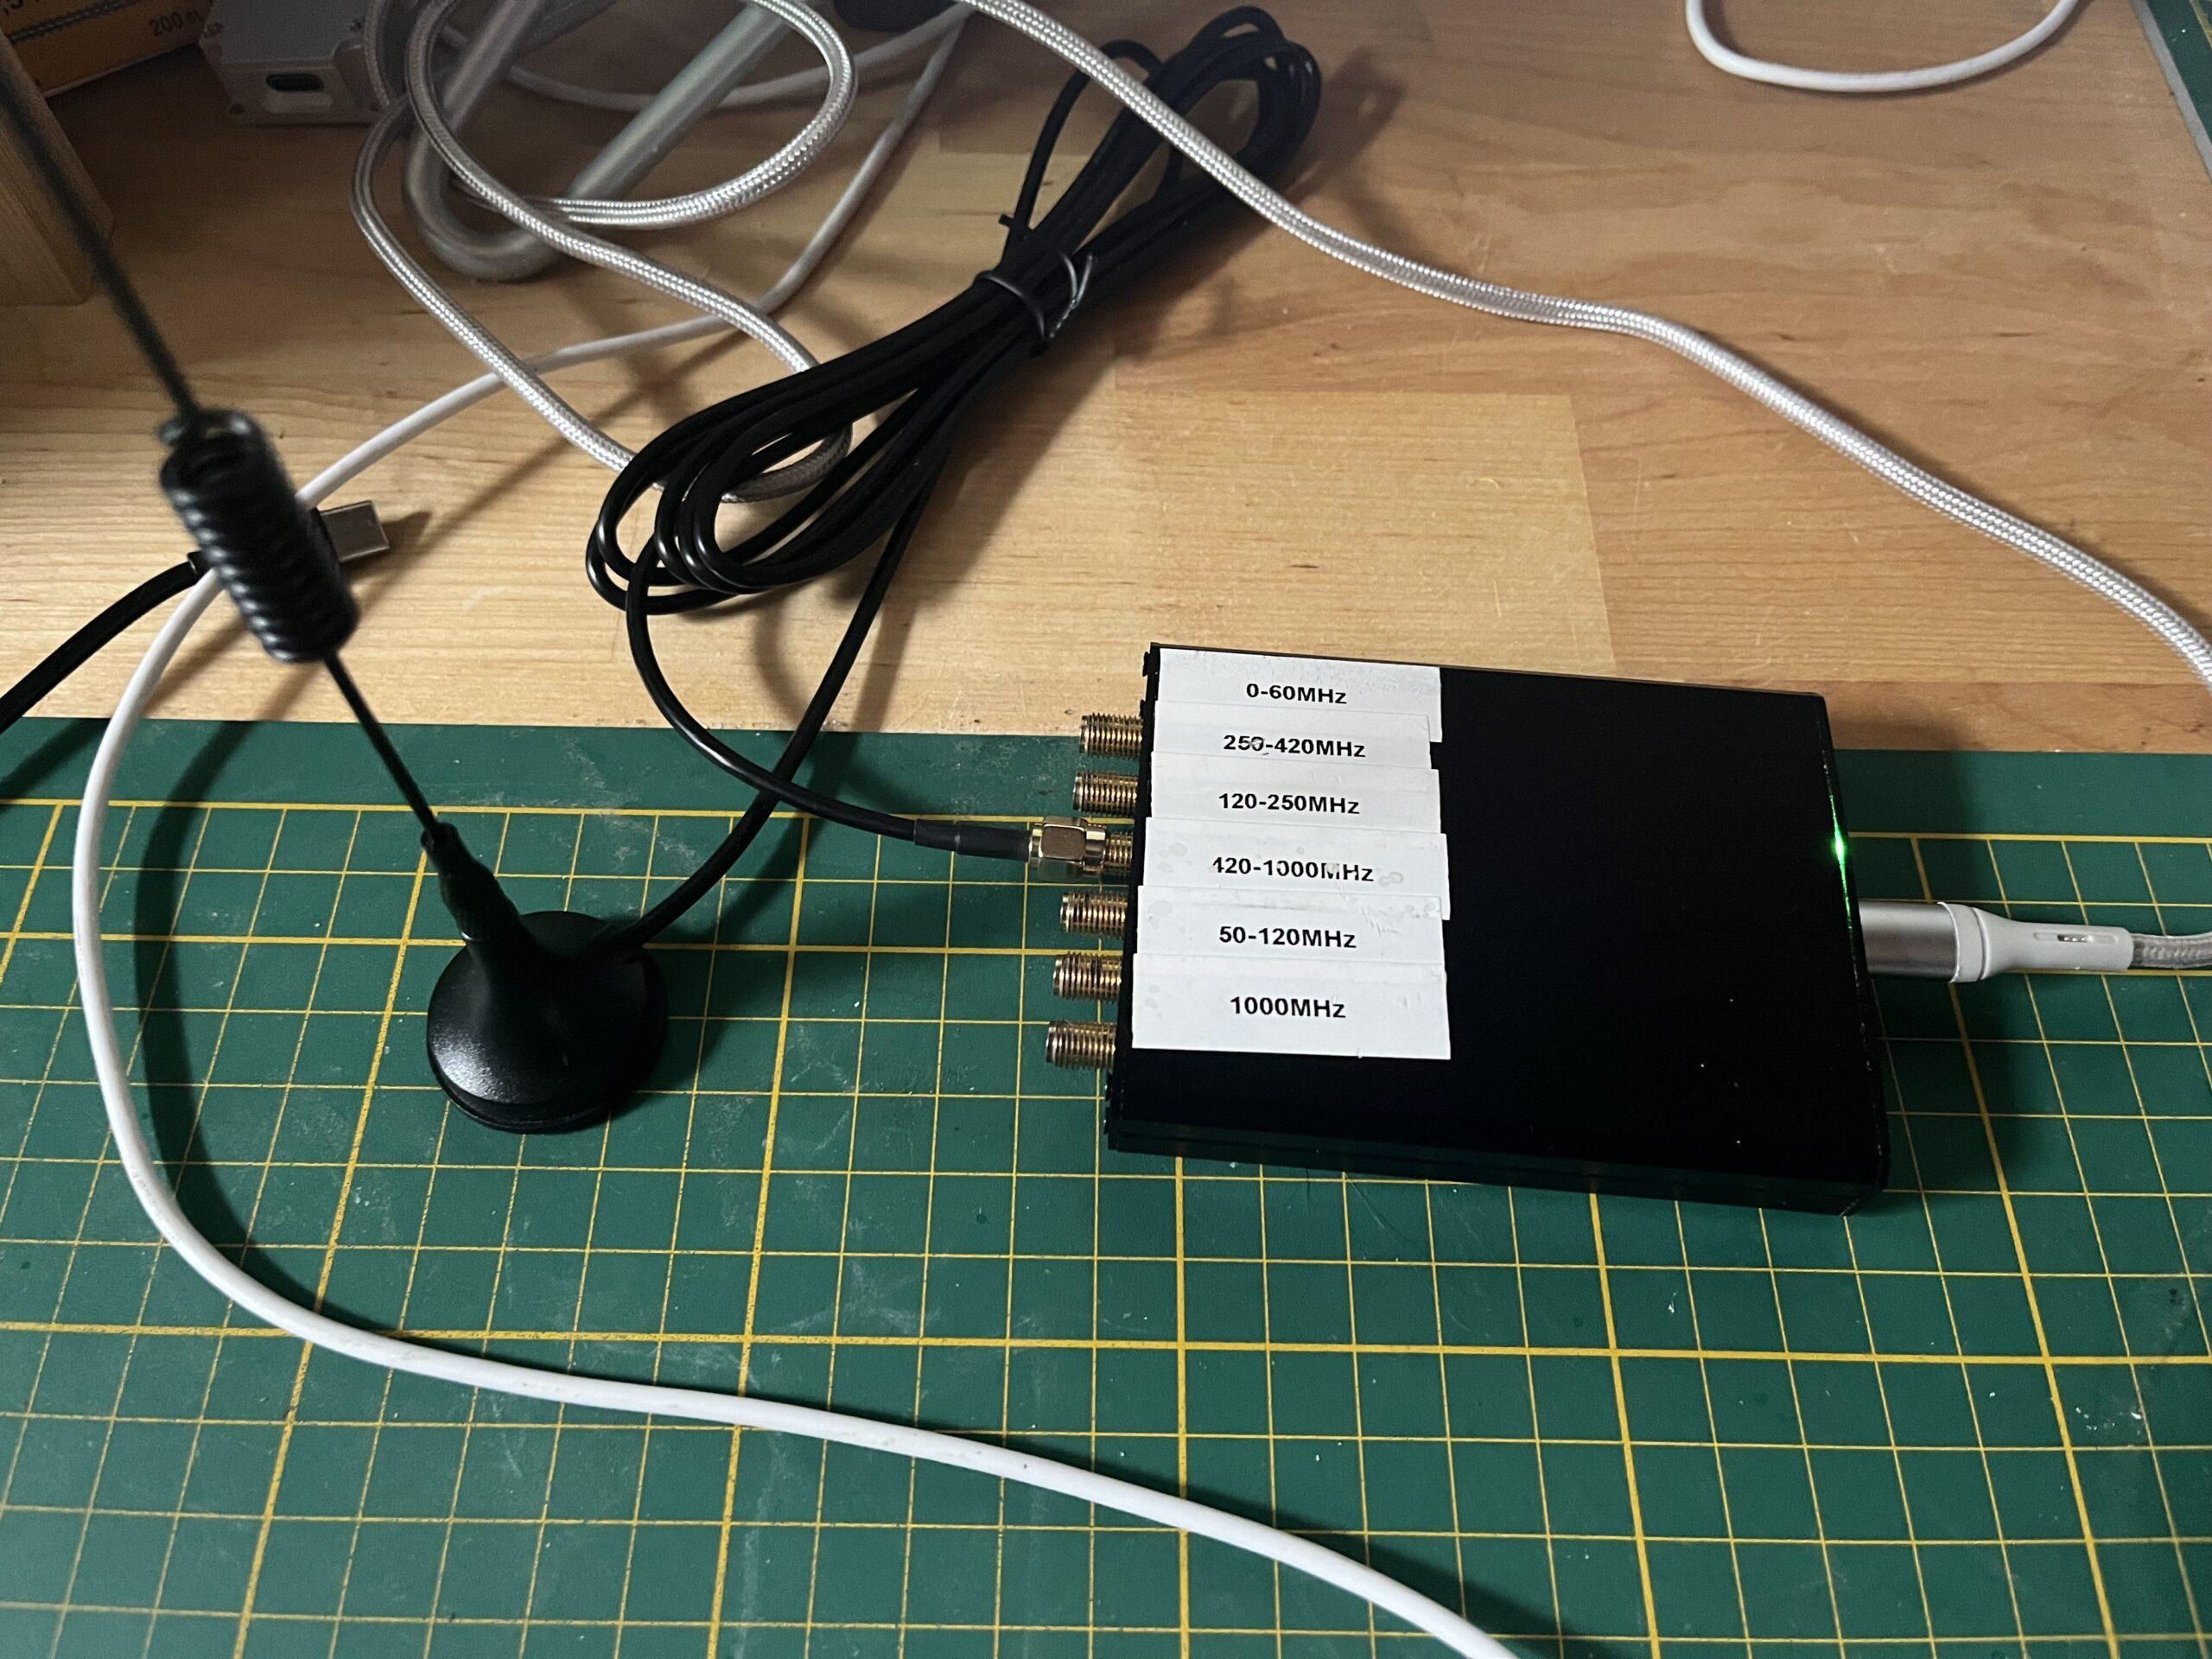
- MSI2500 based SDR receiver (often sold as “RSP1 Clone”)
- Ubuntu Linux (20.04 or newer recommended)
- Internet connection
- Approx. 30-60 minutes time
Step 1: Open Terminal
Press Ctrl + Alt + T to open a terminal. This is where we will enter all the commands.
Tip: You can copy commands from this guide and paste them into the terminal using Ctrl + Shift + V.
Step 2: Update system
First we update the system to ensure all packages are up to date:
sudo apt update
sudo apt upgrade -y
You will be asked for your password. Type it in (it won’t appear) and press Enter.
Step 3: Install basic tools
We install the necessary development tools and libraries:
sudo apt install build-essential cmake git pkg-config libusb-1.0-0-dev -yStep 4: Block kernel modules
The MSI2500 is normally recognized as a video device by the Linux kernel. We need to block these modules so that GQRX can access the device.
Create a blacklist file:
echo "blacklist msi2500" | sudo tee /etc/modprobe.d/blacklist-msi.conf
echo "blacklist msi001" | sudo tee -a /etc/modprobe.d/blacklist-msi.conf
If the modules are already loaded, remove them:
sudo rmmod msi2500
sudo rmmod msi001
Note: If an error message “not currently loaded” appears, that’s okay – the modules were not loaded.
Step 5: Install libmirisdr
libmirisdr is the library that communicates directly with the MSI2500 hardware.
# Go to your home directory
cd ~

# Download libmirisdr
git clone https://gitea.osmocom.org/sdr/libmirisdr

# Go to the directory
cd libmirisdr

# Create build directory
mkdir build
cd build

# Configure with CMake
cmake ../ -DINSTALL_UDEV_RULES=ON

# Compile (this may take a few minutes)
make -j4

# Install
sudo make install

# Update the libraries
sudo ldconfig
Step 6: Set up USB permissions
So that you can use the device without root rights, we create a udev rule:
sudo nano /etc/udev/rules.d/66-mirics.rulesInsert this line:
SUBSYSTEM=="usb", ATTRS{idVendor}=="1df7", MODE="0666"Save with Ctrl + X, then Y, then Enter.
Activate the rule:
sudo udevadm control --reload-rules
sudo udevadm trigger
Now disconnect your MSI2500 device from the USB and plug it back in.
Step 7: Install RTL-SDR with MSI2500 support
We install a special version of RTL-SDR that supports MSI2500:
# Go to the home directory
cd ~

# Download the RTL-SDR version with MSI2500 support
git clone https://github.com/old-dab/rtlsdr.git

# Go to the directory
cd rtlsdr

# Create build directory
mkdir build
cd build

# Configure
cmake ../ -DINSTALL_UDEV_RULES=ON -DDETACH_KERNEL_DRIVER=ON

# Compile
make -j4

# Install
sudo make install

# Update libraries
sudo ldconfig

# Update PATH
export PATH=/usr/local/bin:$PATH
echo 'export PATH=/usr/local/bin:$PATH' >> ~/.bashrc
Step 8: Install GQRX
GQRX is the SDR software we will be using:
sudo apt install gqrx-sdr -yStep 9: Test the device
Before we start GQRX, we check whether the device is recognized:
# Check if the USB device is visible
lsusb | grep 1df7
You should see a line like:Bus 001 Device XXX: ID 1df7:2500 SDRplay RSP1
Clear the command cache:
hash -rStep 10: Configure and start GQRX
Start GQRX:
gqrxWhen you start it for the first time, a configuration window appears:
- Device: Select “Mirics MSi2500 default (e.g. VTX3D card)”
- Device string: Leave it at
miri=0or empty - Input rate: Choose 2048000 (2,048 MSPS) – this prevents buffer overflows
- Bandwidth: You can leave it at 0.000000 MHz (automatic)
- Click OK
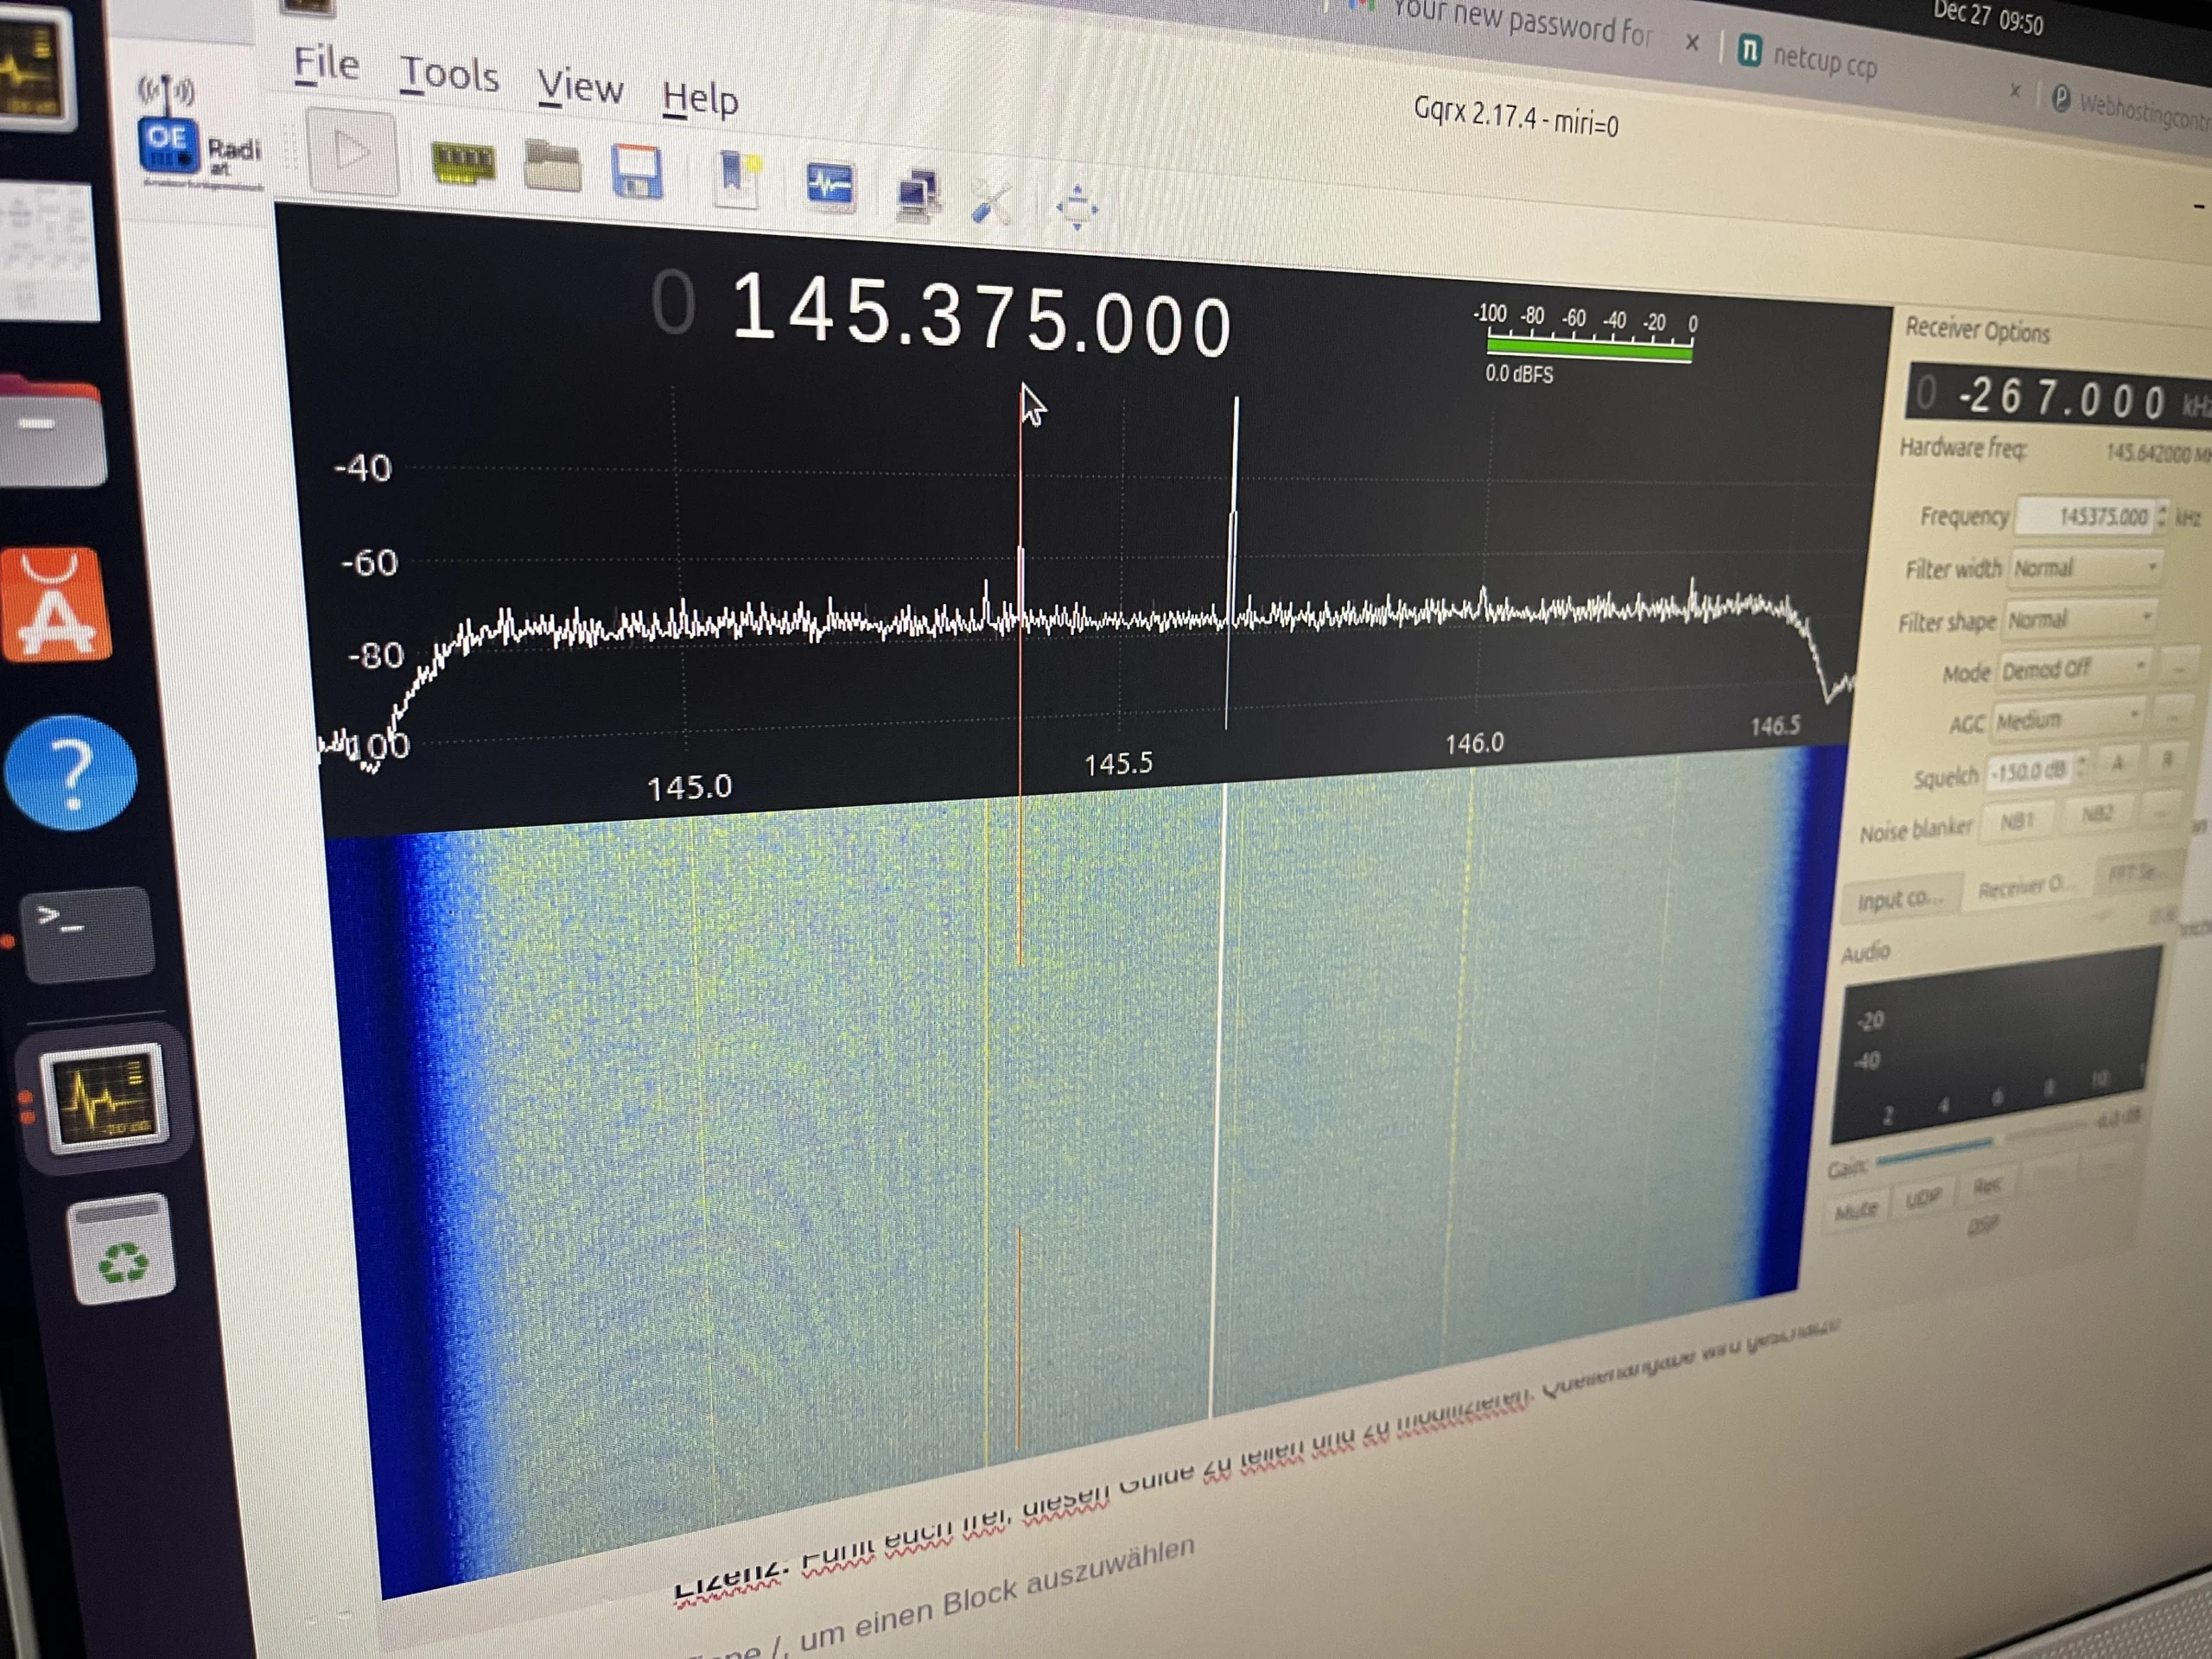
Step 11: Test initial reception
Now you can test GQRX:
- Click on the “Power” button (Play symbol) at the top left
- Enter a frequency, e.g.
100000000for 100 MHz (FM radio) - Select “WFM (stereo)” mode for FM radio
- You should now see the spectrum and waterfall chart
If you see a lot of “OOOO” messages in the terminal:
These are buffer overflows. Reduce the sample rate to 2,048 MSPS or lower in the settings.
Step 12: Create desktop shortcut (optional)
To be able to easily start GQRX from the desktop:
# Create desktop entry
nano ~/.local/share/applications/gqrx.desktop
Insert this content:
[Desktop Entry]
Version=1.0
Type=Application
Name=GQRX SDR
Comment=Software Defined Radio Receiver
Exec=gqrx
Icon=gqrx
Terminal=false
Categories=HamRadio;Network;
Keywords=sdr;radio;hamradio;
Save with Ctrl + X, then Y, then Enter.
# Update desktop database
update-desktop-database ~/.local/share/applications

# Optional: Copy shortcut to desktop
cp ~/.local/share/applications/gqrx.desktop ~/Desktop/
chmod +x ~/Desktop/gqrx.desktop
gio set ~/Desktop/gqrx.desktop metadata::trusted true
Troubleshooting
Problem: “No supported devices found”
Solution:
- Check whether the kernel modules are loaded:
lsmod | grep msi - If yes, remove it:
sudo rmmod msi2500; sudo rmmod msi001 - Disconnect and reconnect the USB device
- Test again:
lsusb | grep 1df7
Problem: “Failed to open mirisdr device”
Solution:
- Check USB permissions:
ls -l /dev/bus/usb/001/* - Add your user to the video group:
sudo usermod -a -G video $USER - Log out and log back in (or restart)
Problem: Many “OOOO” messages (buffer overflows)
Solution:
- Stop GQRX
- Open the settings (gear icon)
- Reduce the sample rate to 2,048 MSPS or 1,024 MSPS
- Restart GQRX
Problem: No audio
Solution:
- Check whether the correct demodulator is selected (WFM for FM radio)
- Check the volume in GQRX (controller on the right)
- Check the system volume
- In GQRX: File → I/O Devices → Audio output: Select “Default”
Recommended settings for various applications
FM radio (FM broadcast)
- Frequency: 88 – 108 MHz
- Mode: WFM (stereo)
- Bandwidth: 200 kHz
Aviation radio
- Frequency: 118 – 137 MHz
- Mode: AM
- Bandwidth: 12 kHz
Amateur radio 2m FM
- Frequency: 144 – 146 MHz
- Mode: Narrow FM
- Bandwidth: 12.5 kHz
PMR446 / Freenet
- Frequency: 446 MHz / 149 MHz
- Mode: Narrow FM
- Bandwidth: 12.5 kHz
Technical Notes
Supported frequency ranges
The MSI2500 typically supports:
- 1 kHz – 2 GHz (depending on hardware variant)
- Maximum sample rate: 10 MSPS
- Recommended sample rate: 2 – 4 MSPS for stable performance
Performance tips
- Use USB 3.0 ports if possible
- Connect the device directly (not via USB hub)
- Use lower sample rates on weaker computers
- Close unnecessary programs during operation
Related resources
Summary of the most important commands
System updates
sudo apt update && sudo apt upgrade -yStart GQRX
gqrxCheck device
lsusb | grep 1df7Remove kernel modules (if necessary)
sudo rmmod msi2500
sudo rmmod msi001
Reload libraries (after installing new software)
sudo ldconfigFrequently asked questions (FAQ)
Q: Does this also work with other MSI2500 based devices?
A: Yes, this guide works with all MSI2500 based SDR receivers, including various RSP1 clones and similar devices.
Q: Can I use multiple SDR devices at the same time?
A: Yes, but you have to select the correct device in GQRX. The device ID then changes, for example, to miri=1 for the second device.
Q: Do I need an antenna?
A: Yes, you need a suitable antenna for good reception. For initial tests, a piece of wire is often sufficient as an emergency antenna.
Q: Does this also work on Ubuntu derivatives like Linux Mint?
A: Yes, this guide also works on Ubuntu-based distributions like Linux Mint, Pop!_OS, etc.
Q: Can I also send (transmit)?
A: No, the MSI2500 is purely a receiver. To send you need another SDR device like HackRF or LimeSDR.
License and Disclaimer
This manual is provided without warranty. The use of SDR devices is subject to respective national laws. Find out about the applicable regulations in your country.
In Austria the following applies: Reception is generally permitted as long as no encrypted messages or messages not intended for the public are listened to.
73 de OE8YML
Last updated: December 2025
Tested on: Ubuntu 24.04 LTS
License: Feel free to share and modify this guide. Credit is appreciated!